Success Secret.
Creating beautiful backgrounds for tissue paper images and photo transfers doesn’t have to be complicated—or frustrating.
I remember one student telling me: “I’m not an artist. I don’t know how to paint. Show me a way to create backgrounds where I don’t have to imagine it all from scratch.”
If you’ve ever felt the same way, you’re in the right place. In this post, I’m sharing 8 creative, beginner-friendly background ideas that will help elevate your photo encaustic work and bring depth, texture, and interest to your images.
Many students tell me:
- “I want to take my photography beyond the ordinary.”
- “I love the mystery and layered look of encaustics.”
- “I’m fascinated by the texture and depth in mixed media art.”
The secret? Start with an engaging, layered background with visual interest.
#1 Start Simple with Solid Color Wax
One of the easiest backgrounds for photo encaustics is a solid color of wax. I love using gold encaustic paint, but you could experiment with bold blues for a cyanotype effect, soft seafoam tones, or even colors you wouldn’t normally choose. Unexpected color choices can spark creative surprises!
#2 Embed or Mount Art Papers
Textured or patterned art papers add instant interest. Think marbled designs, handmade papers, or even geographical prints. Simply embed or mount them onto your substrate before layering your image.
#3 Play with Color Mixing
Different encaustic paint colors have unique densities. When heated, they flow and blend in unexpected ways, creating organic patterns and subtle color variations. It’s part art, part serendipity—and perfect for building one-of-a-kind backgrounds.
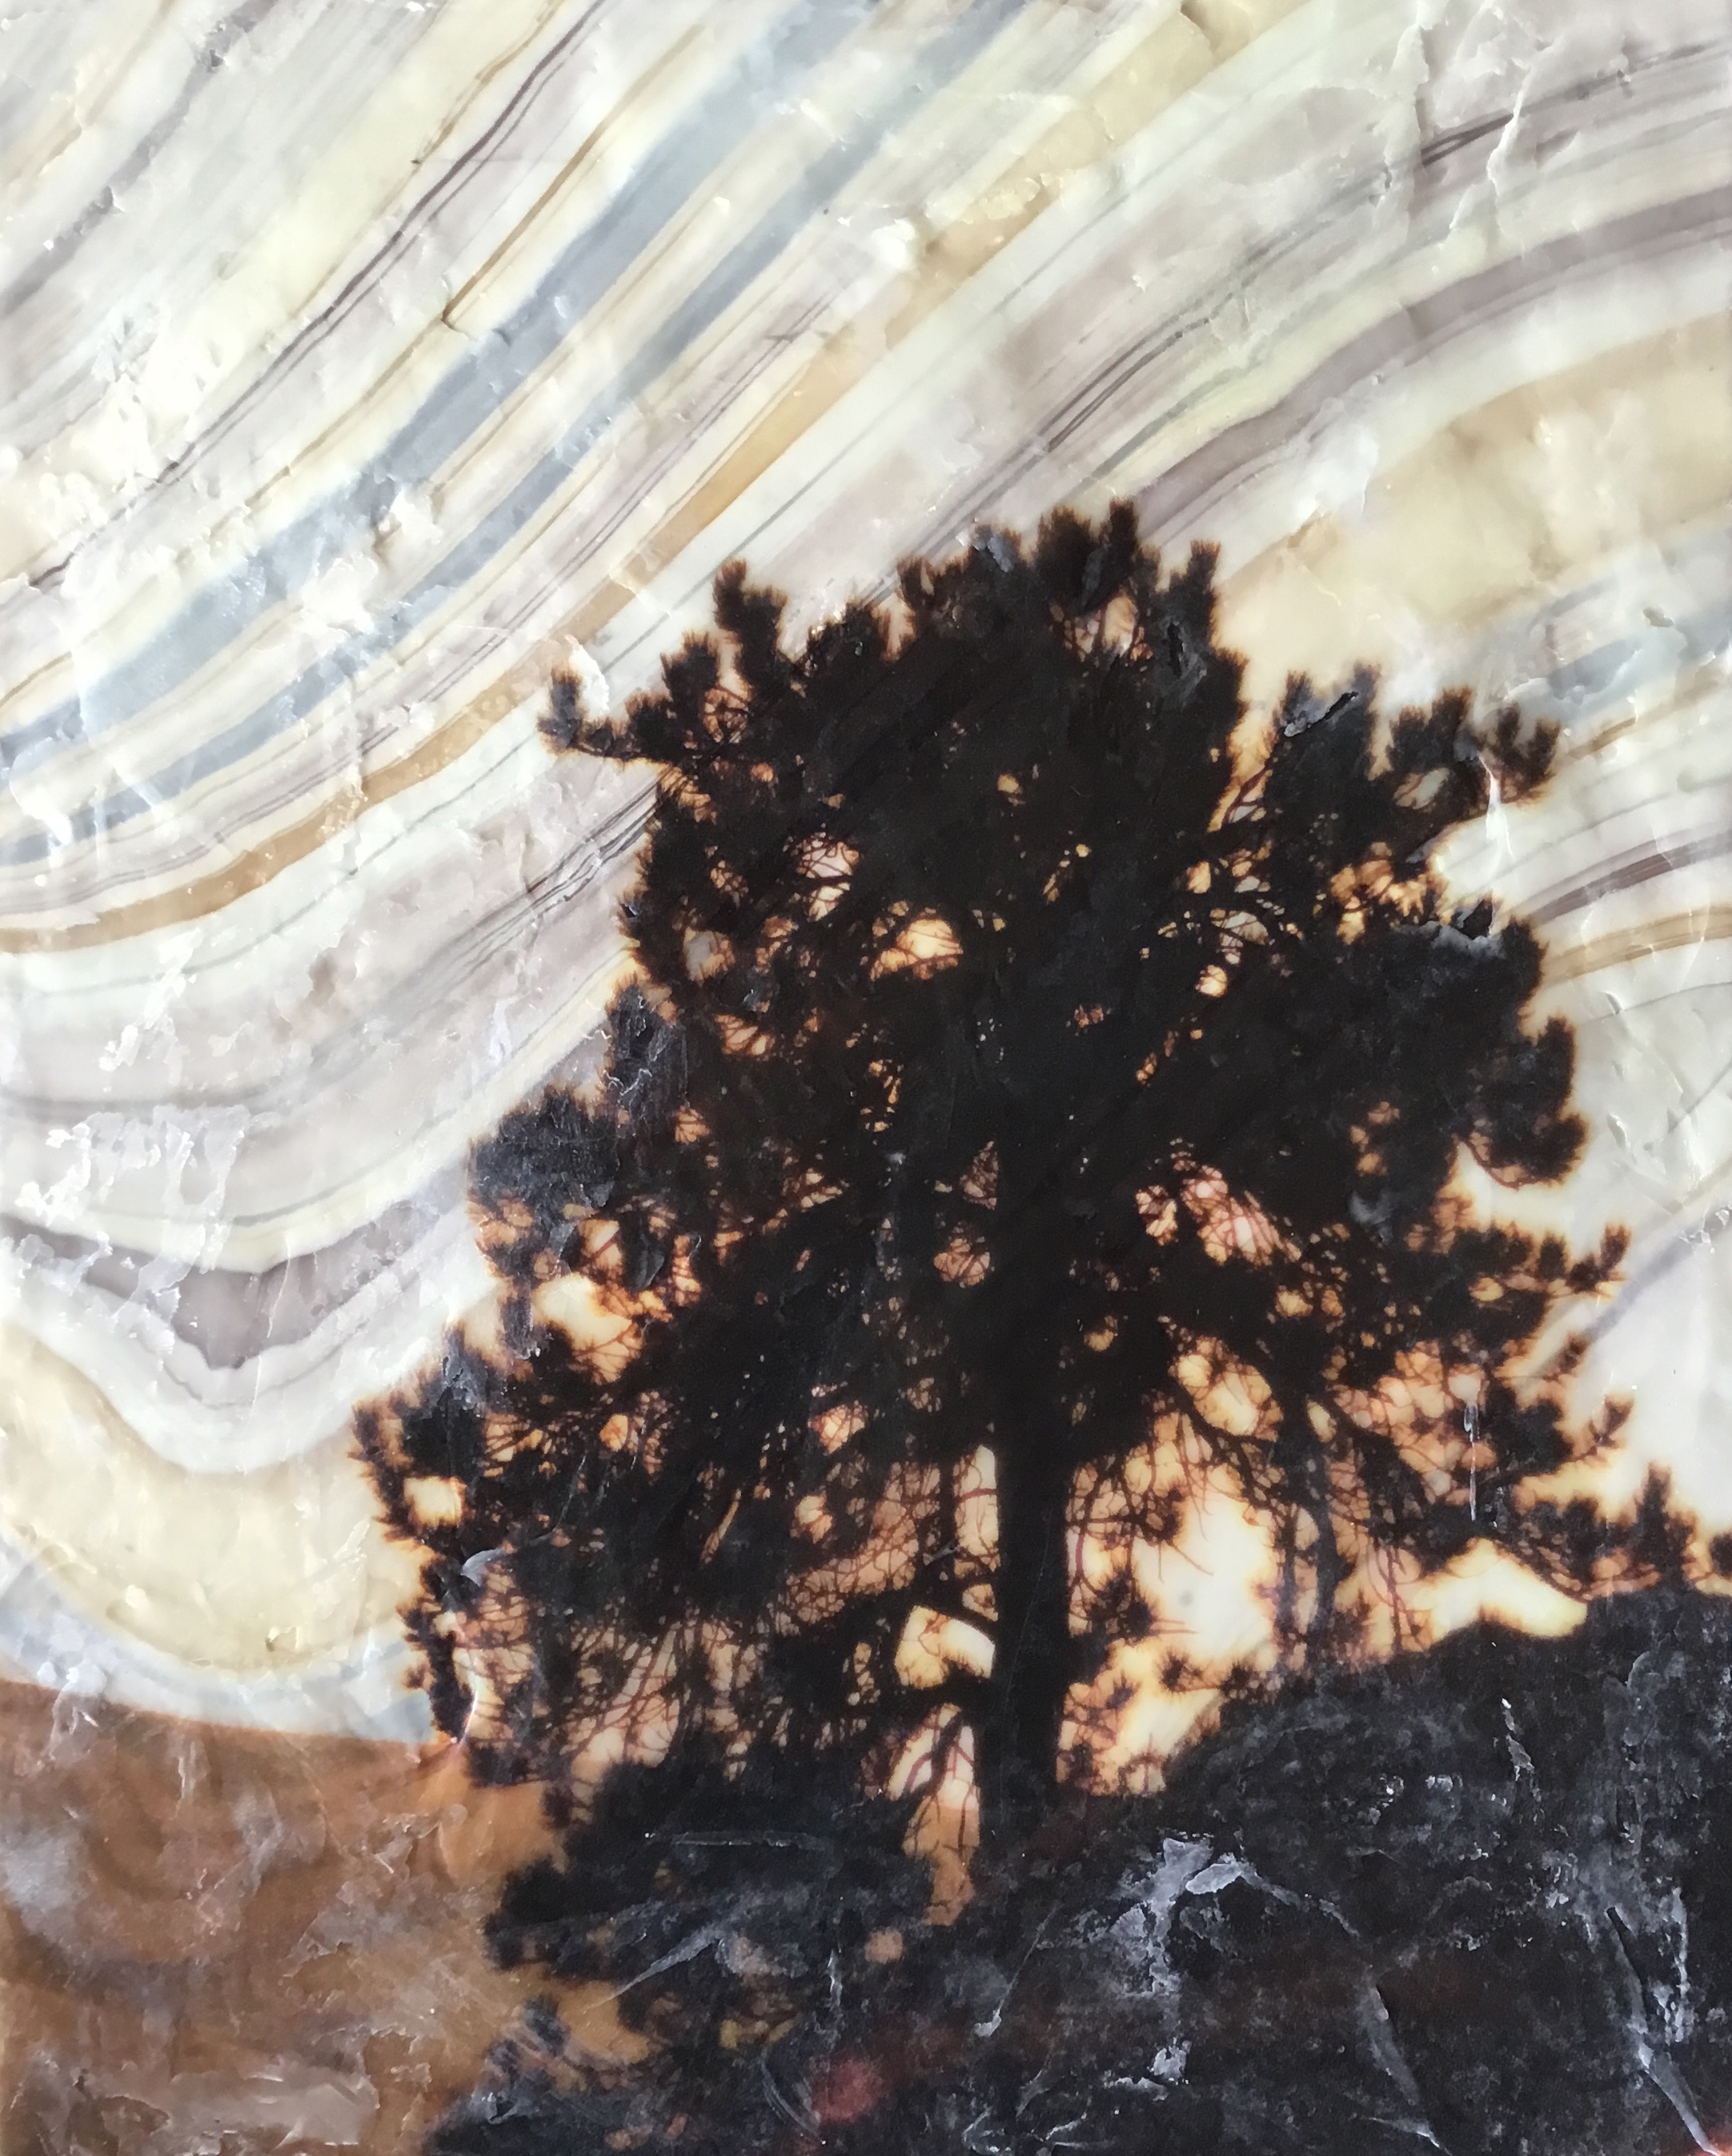
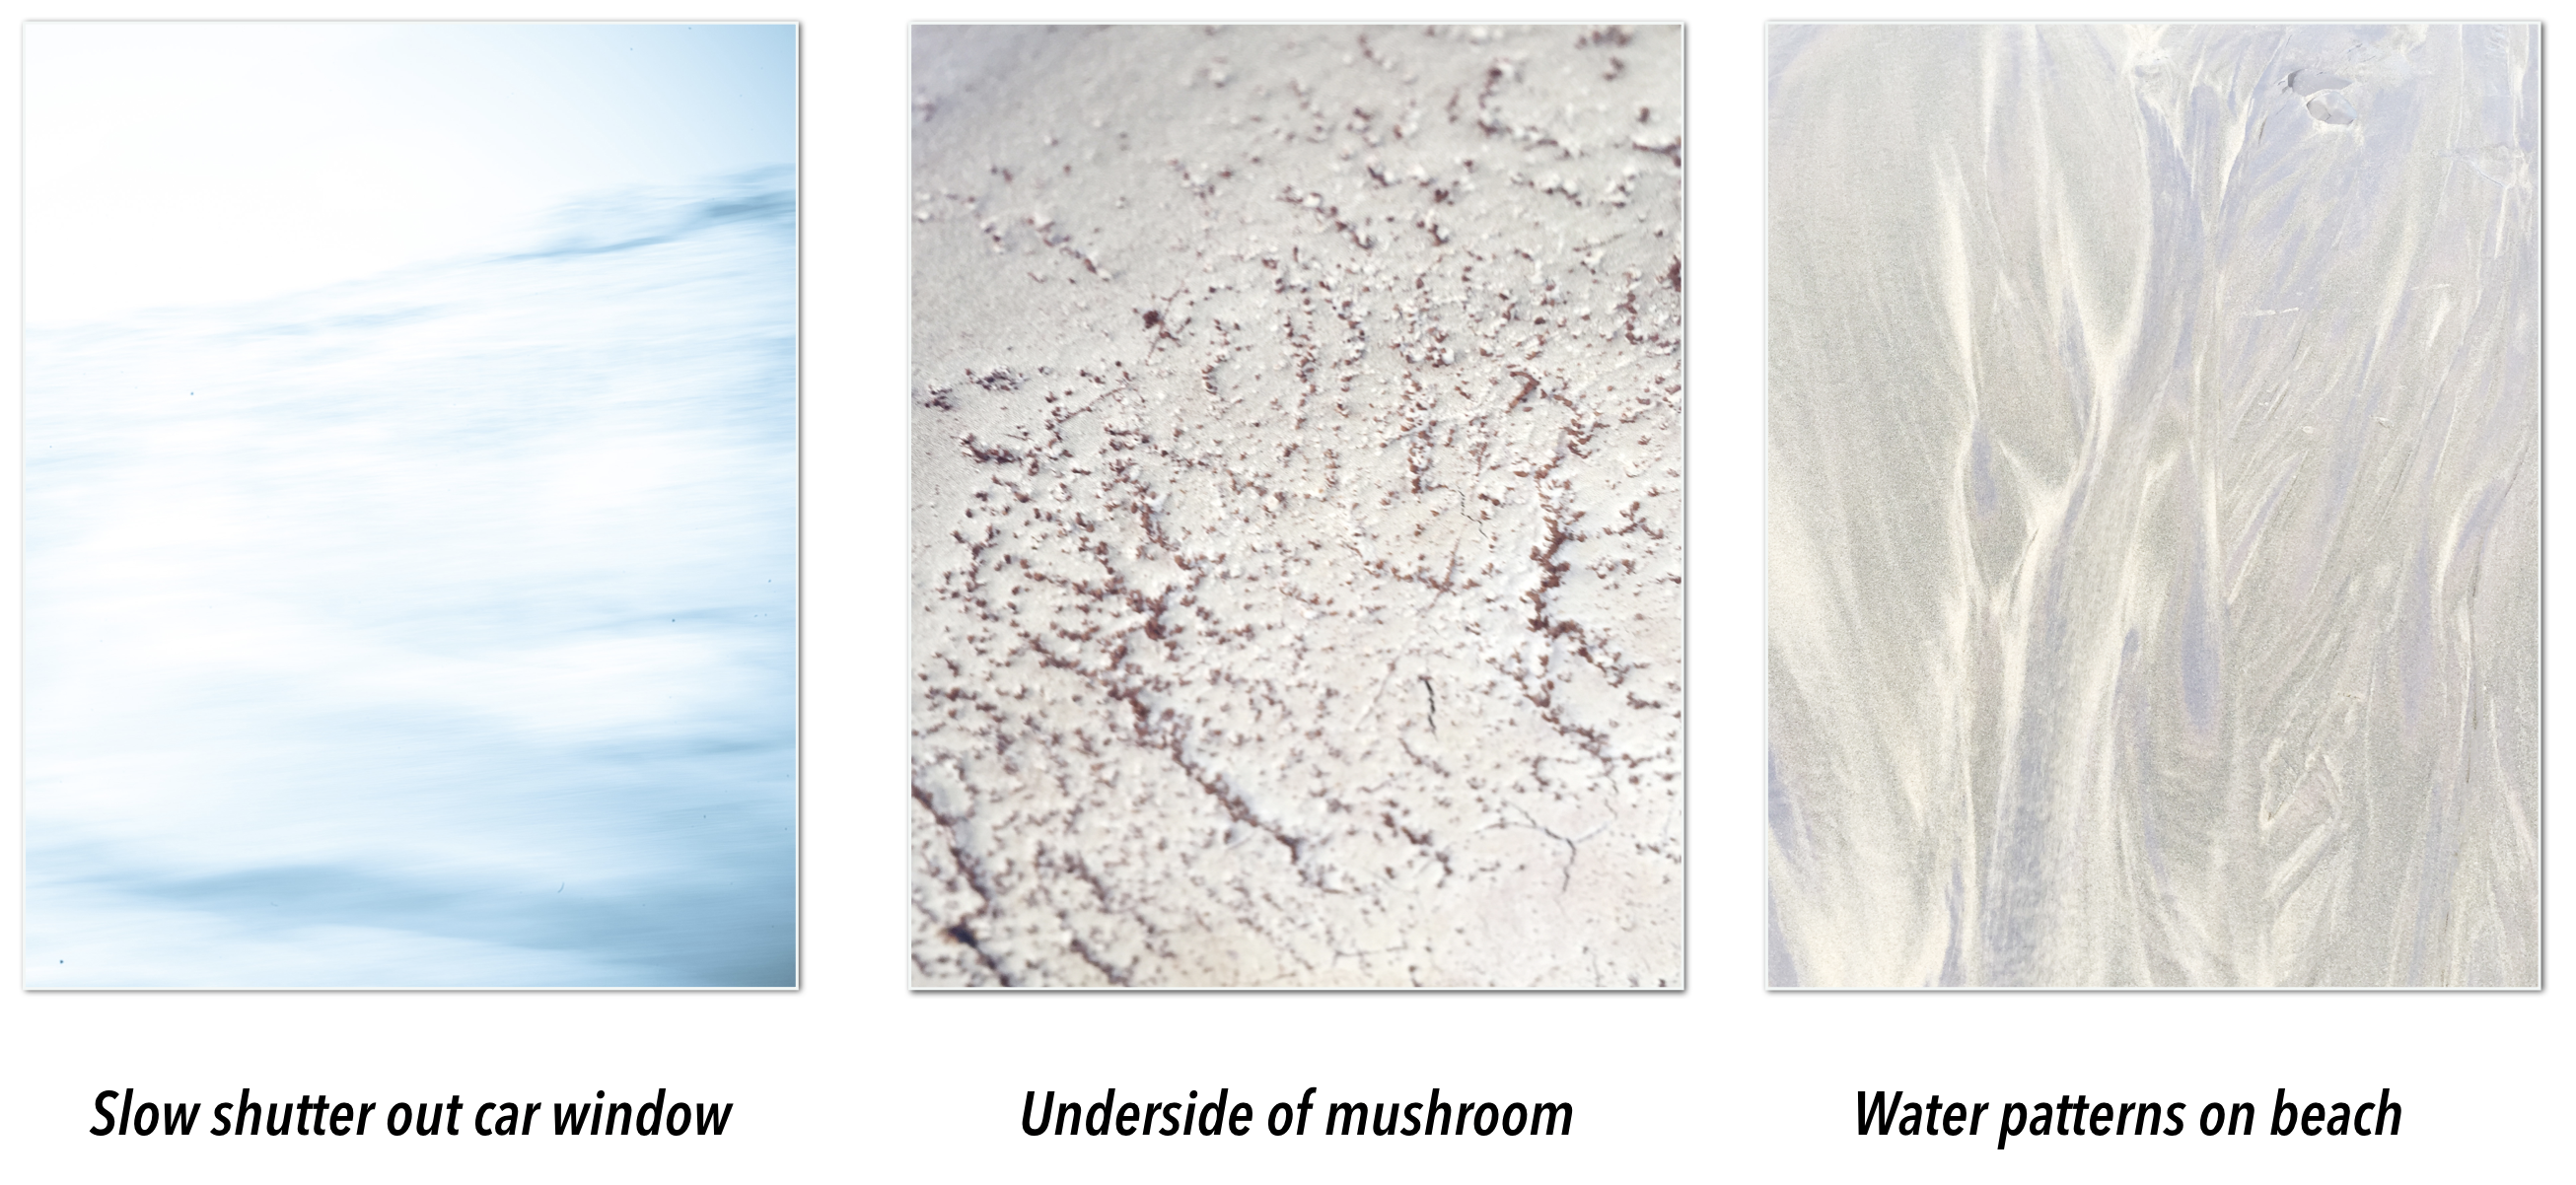
#4 Use Close-Up Texture Photography
Your own photography can make stunning backgrounds. Try using close-up images of natural textures: beach sand, tree bark, or even motion-blurred scenes. Mount them directly, embed tissue prints, or try photo transfers for unique effects.
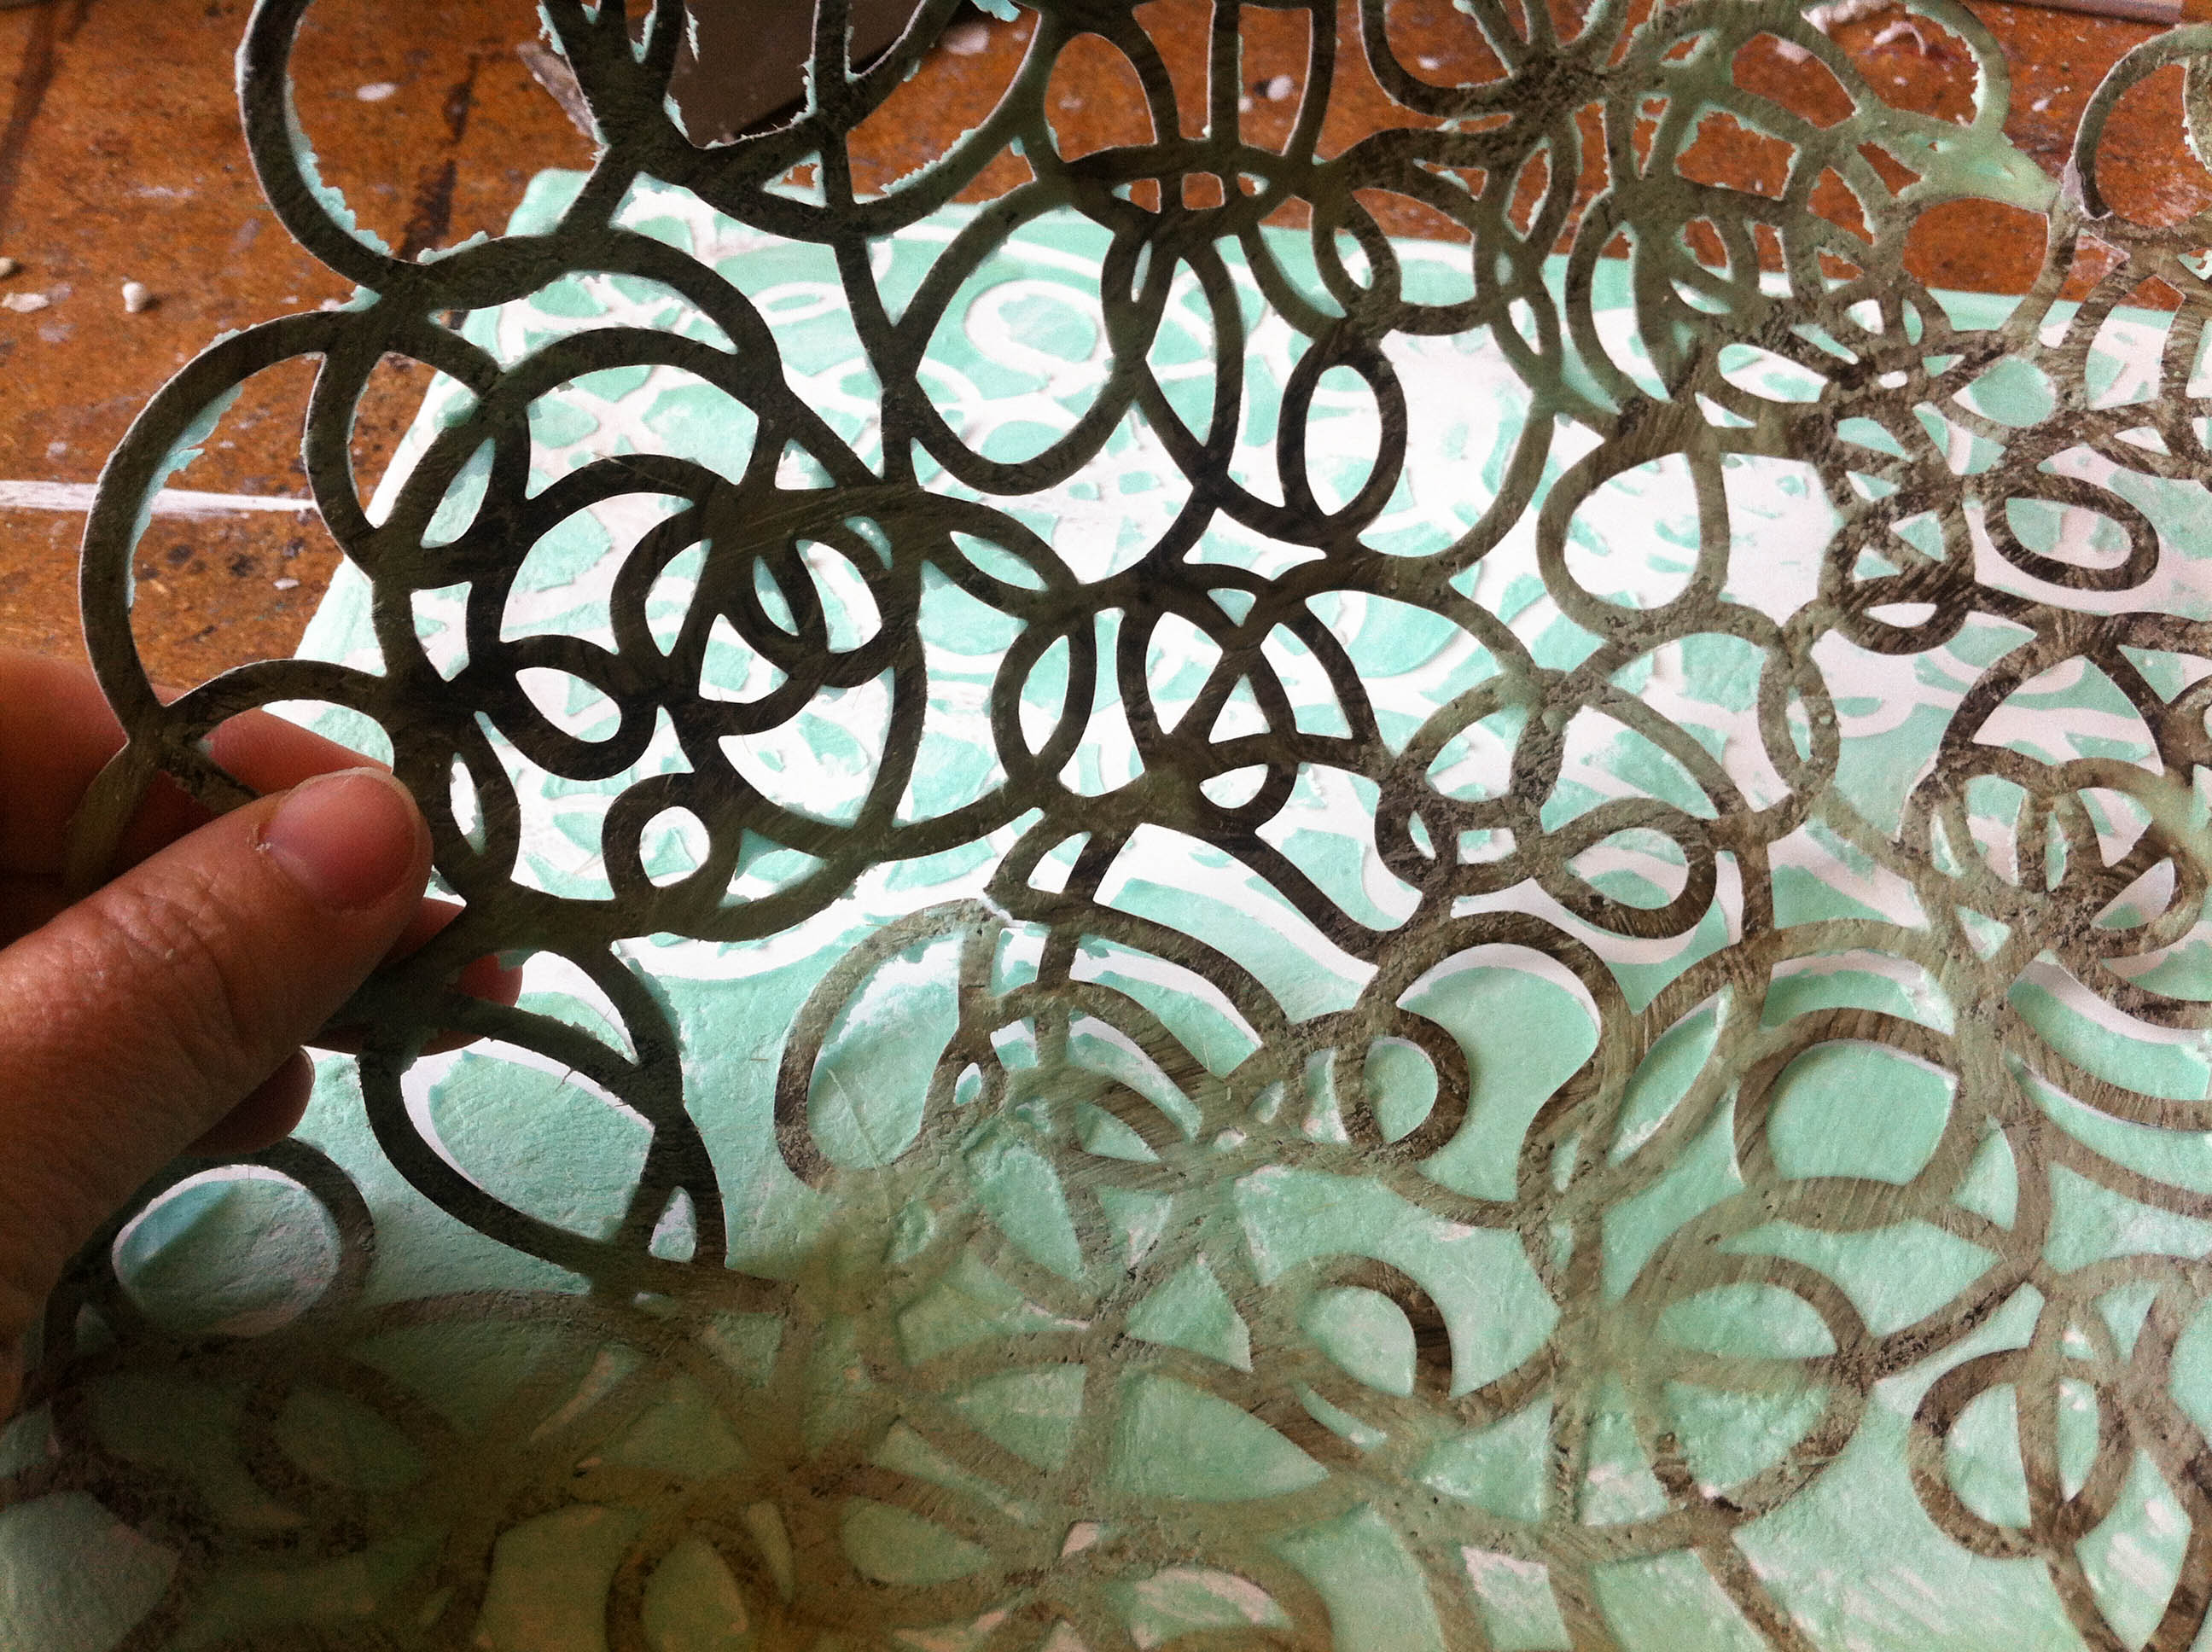
#5 Add Patterns with Stencils
Stencils (even unconventional ones like scrapbooking sheets!) offer endless pattern possibilities. Try layering them over wax to add dimension and visual rhythm to your piece.
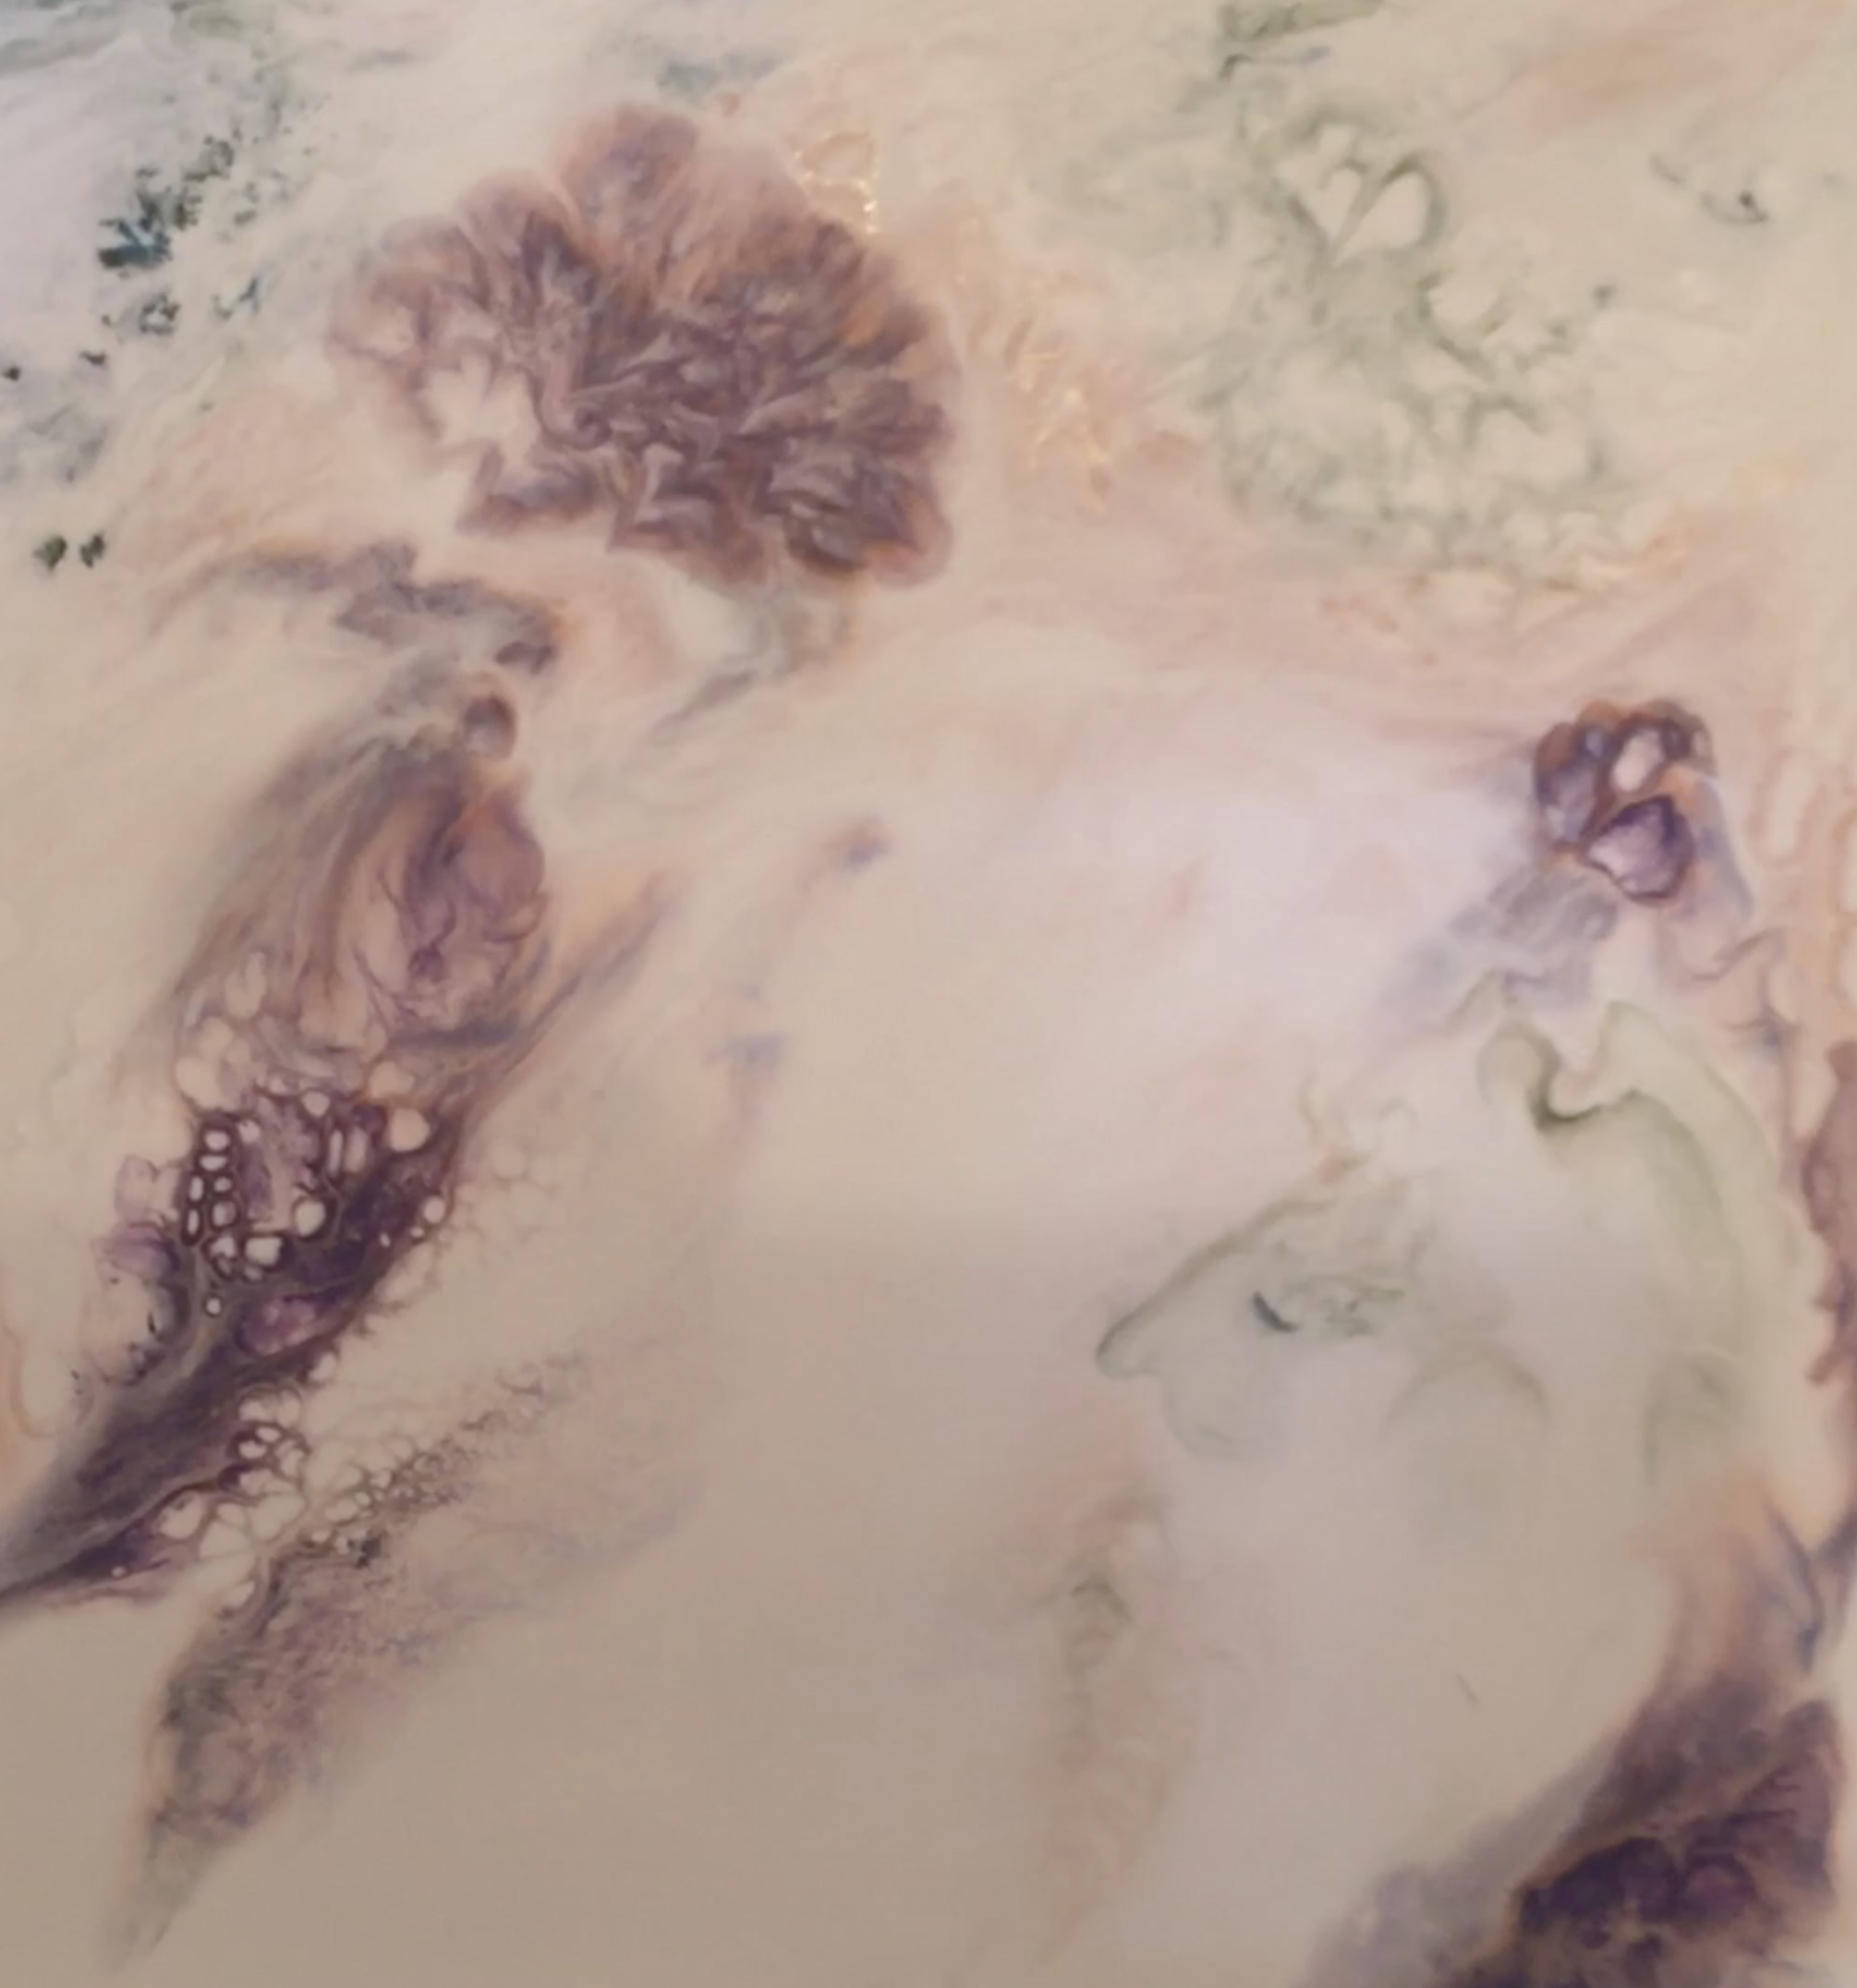
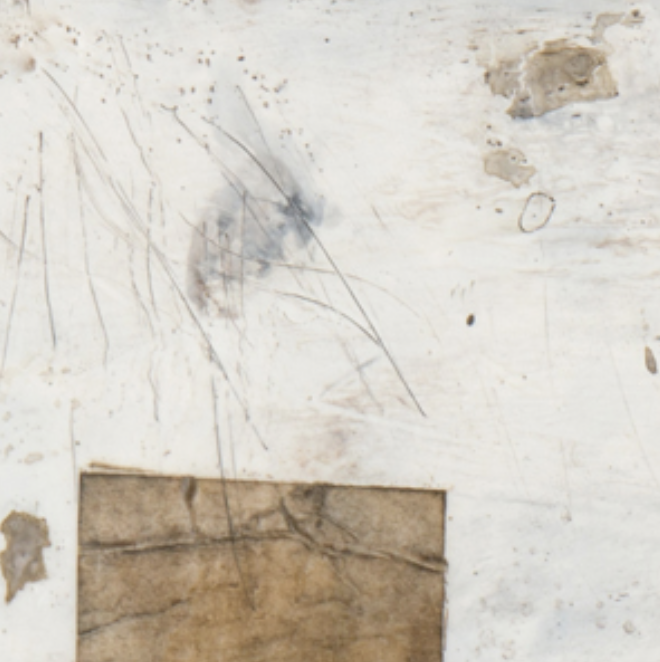
#6 Find Inspiration in Textured Papers
While browsing art stores, I often discover papers that inspire entire backgrounds, yet wouldn’t work to embed the entire sheet.
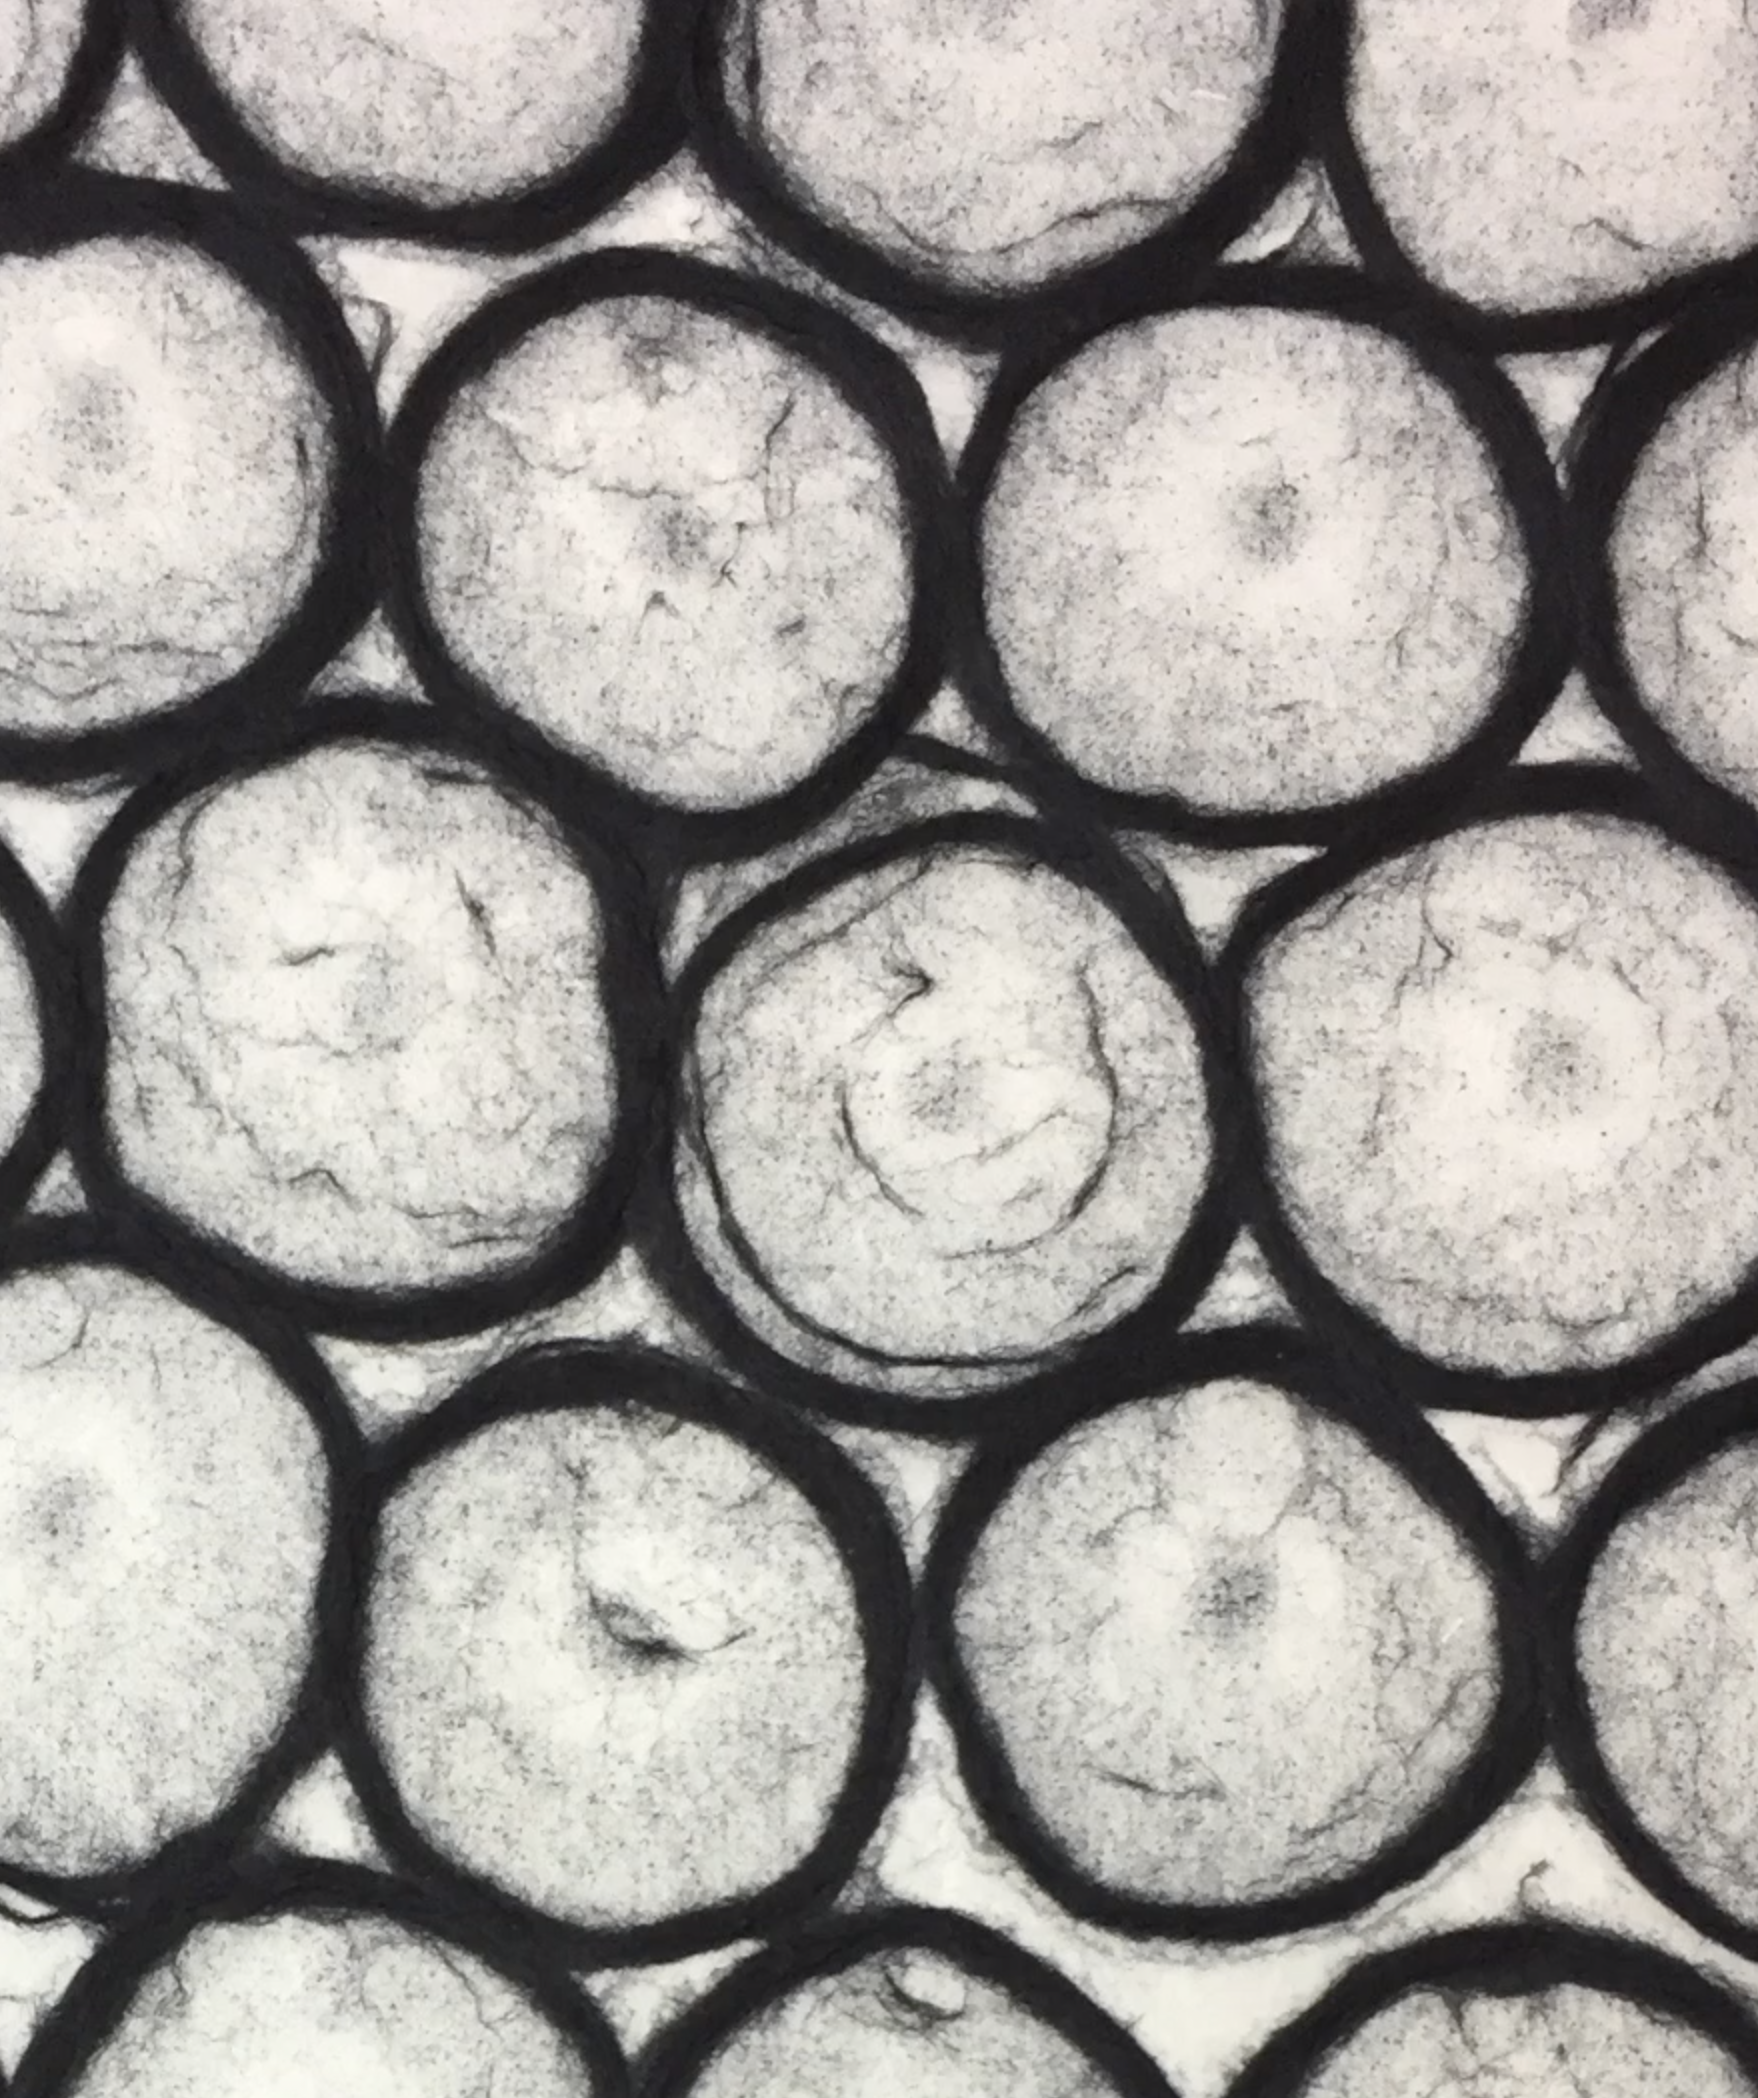
 One favorite was a circle-patterned paper that led me to mimic the look using pan pastels over layers of white encaustic paint. A little heat causes colors to drift and form organic, painterly effects.
I fused to a more liquid state so as the color rushed to the outside and created these circles.
For some images this might be a little dark, but if you add a few light brush strokes of white and gently fuse, it makes the piece lighter and easier to see your photo when embedded.
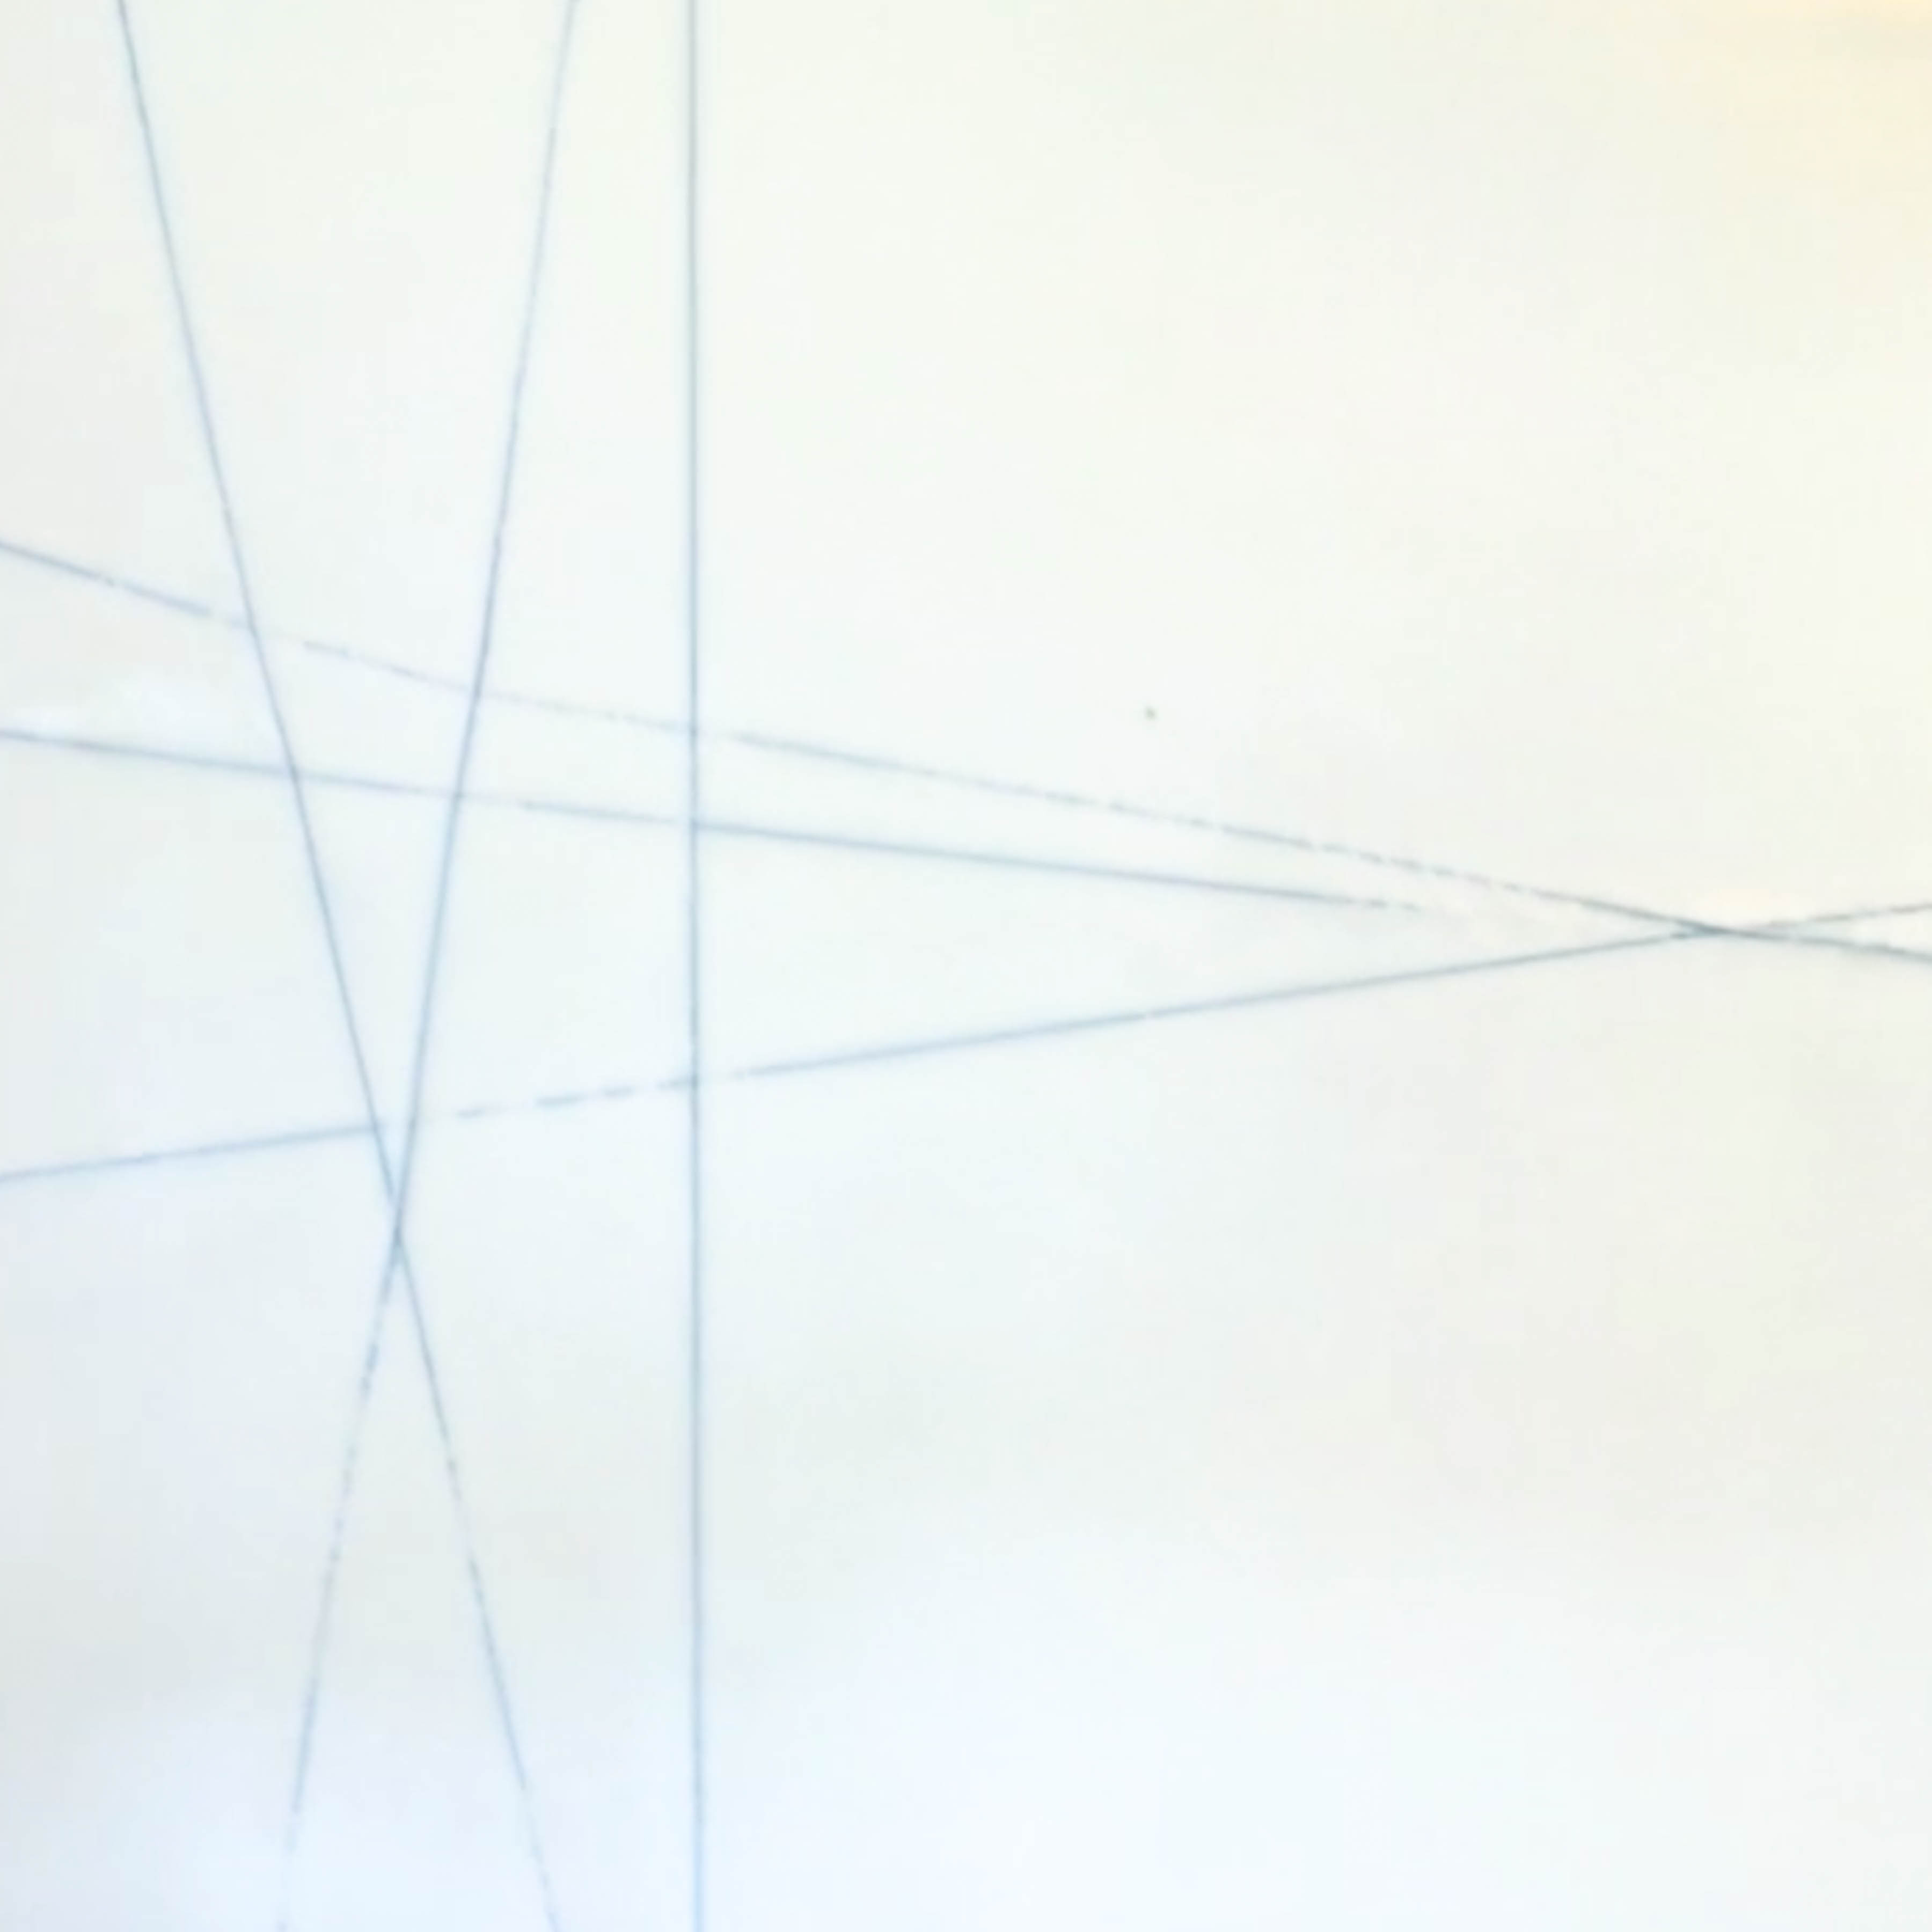
Here’s yet another piece of fine art paper. This time, it was about the lines. I wanted to recreate them. But wanted them to be really thin and didn’t want to embed the paper.
You can also embed fine threads for linear designs—an underused but striking technique.
#7 Experiment with Blocks of Color
Similarly, you can choose to create blocks of color. These can either be free form or taped. Translucent or opaque colors. It all up to you.
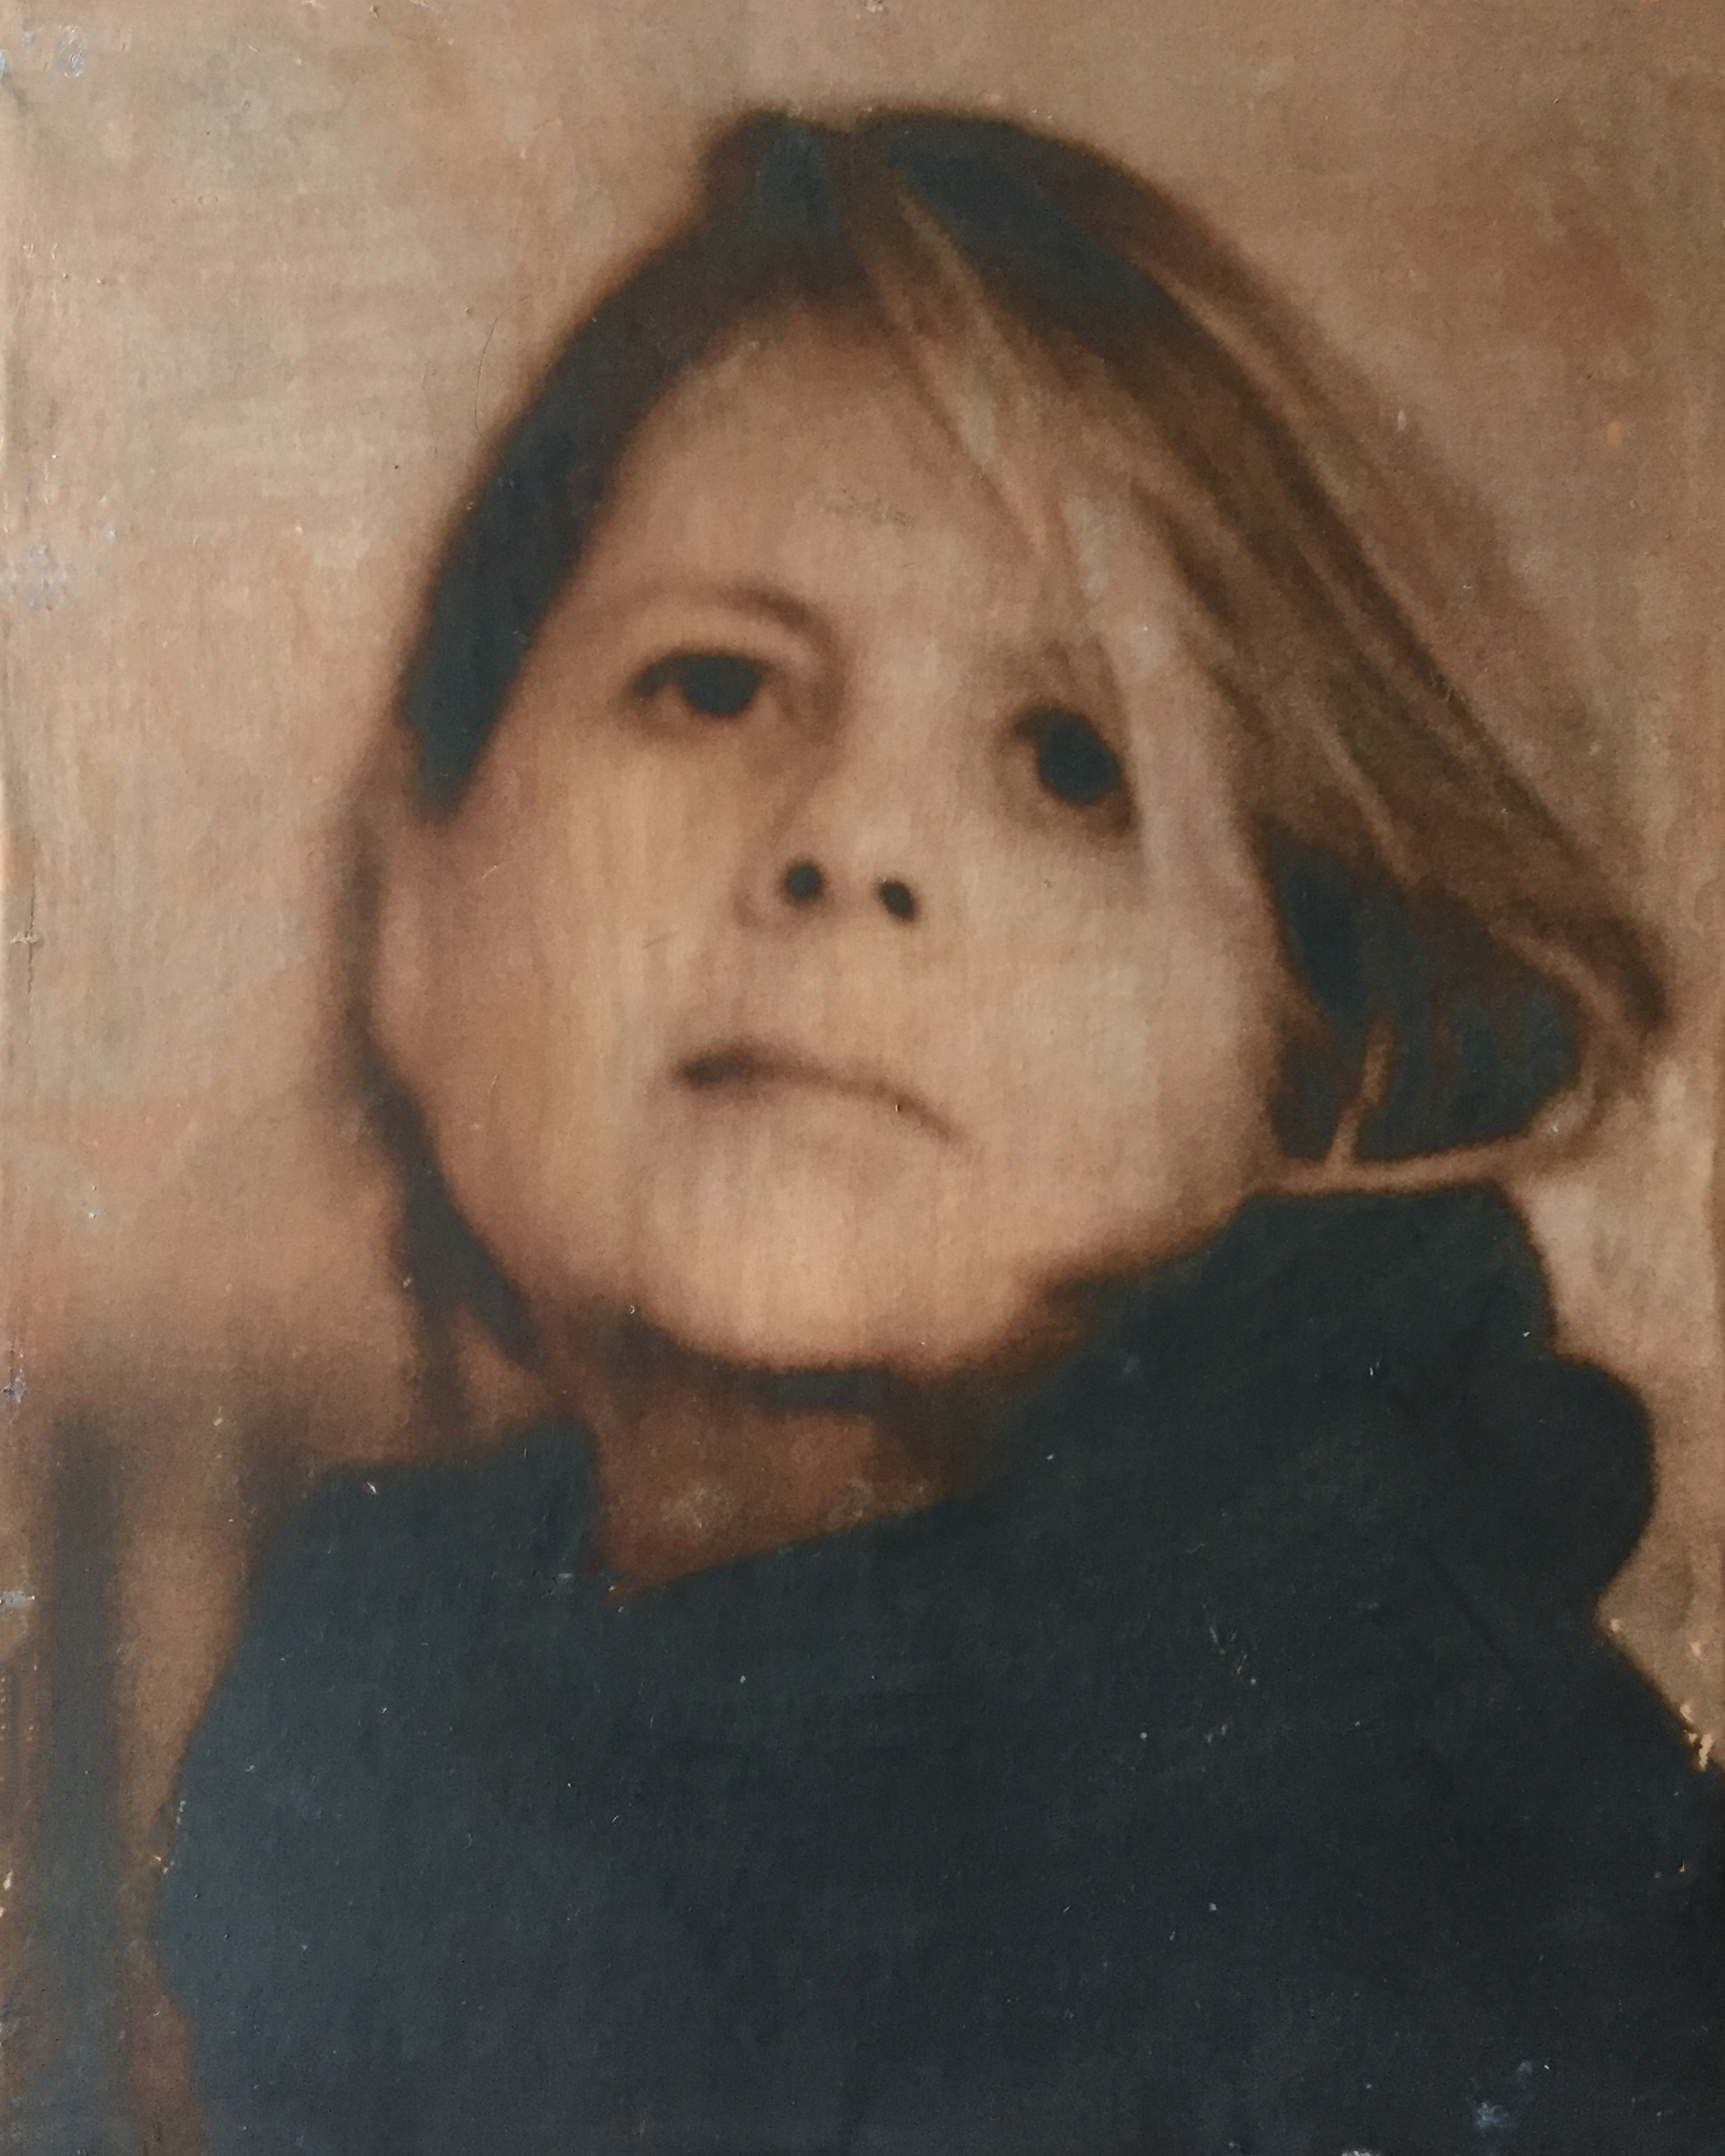
I still hear it all the time. You need to put more color in your work. I’ll admit, I’m really drawn to monotone images. I didn’t want to change the images to color so decided to add color to the background.
 Here is one of those images.
I started to use tissue paper as geometric shapes in my backgrounds. At first, I tried with colored tissue paper, but I wanted more variation in the color. So, I started to play with watercolor. I usually mix two different watercolors together to get some variation in color.
At first I just worked on my workbench and put multiple colors on the tissue and let it dry. Then I noticed that the coloration of the workbench was kinda cool. So, next time, I placed the tissue on the substrate before loading it with color. When I pulled up the tissue I had some unique geometric shapes on the substrate.
#8 Layer Freely and Follow Your Instincts
Some of my favorite backgrounds come from simply getting lost in the process. I layer watercolors, encaustic paints, R&F pigment sticks—adding and subtracting until it feels right. No rules, no pressure. Just creative flow.

Creating backgrounds for photo encaustics opens endless possibilities for texture, depth, and emotion in your art. Whether you start simple with solid colors or get adventurous with patterns, layers, and textures, the key is to experiment and have fun.
Let your imagination guide you—you’ll be amazed at what emerges.
If you’re ready to deepen your creative practice, click to find out more about the Embracing Tissue Paper masterclass to unlock new layers of expression. Don’t miss your chance to experiment, play, and transform your work.
I’m curious to know, what is your ‘go to’ way to create backgrounds? Let me know in the comments below.
Be well….be creative,
Clare
Learn how photographs, wax, and intuition come together.
View my photo encaustic classes, courses, and workshops.
Thank you for sharing. Your work is fabulous! Seeing your work is what inspired me to even try encaustic. Thank you!
And I’m so happy that you did! You have a unique eye for this process…..and I’m always interested to see more of what you are doing!
Great suggestions, Clare! Am going to print this out and keep in my studio for inspiration.
The highest compliment you could give me Gail. Thank you:)
This is great. Thank you for giving strong visuals with the different techniques. I’ve been so engrossed in my changing life chapters and working in my other favorite medium (alternative photographic printing) that I’ve neglected my encaustic practice. You just pulled me out of my slump to get back to it – especially now that I actually have time to devote to it. Thanks again, Clare, for your inspirational wisdom!
As long as you are working in something creative….all is good. I hope you are thoroughly enjoying retirement:)
Thank you so much Clare ! I too have been in a slump and just started to organize my art room so I’m almost ready . I took your course and was thrilled but ended up having surgery and was unable to download it. It’s ok , I copied most and highly recommend the course to anyone who enjoys Encaustic or photography ! Thanks for the tips and inspiration !
Hi Sandy, so glad you are getting back at it after your surgery. Take your time and be good to yourself. Glad you were able to find inspiration from today’s post!
Thanks so much for the background inspiration and sharing your creativity, Clare. It’s all starting to come together. I’ll be working in my studio tomorrow on a new piece after your wonderful retreat to Eaton’s Ranch.
Can’t wait to see what you create Julie! So fun to spend time with you at Eatons’. Thanks for your great energy!
*headslap* I’ve never thought of coloring the tissue paper before embedding. I’m always printing the image, and that’s the extent of it.
The weather is finally cooling and my studio is clean and ready! What a great inspiration to begin. Thanks, Clare.
Isn’t it amazing when suddenly you see a new way of doing things? I frequently embellish the tissue paper image before I embed it….and love it even more when I do:)