Skip to content

Embracing Tissue Paper

 (Masterclass)

Open November 10 – December 10

You already know your way around wax — the fusing, the rules, the layers that make a piece hold together. Here, we go all the way into one part of that world: printing an image on paper thin enough to nearly disappear, and embedding it so the light moves through the wax instead of stopping on top of it.

This is one process taken all the way through — choosing an image that will actually let a background show through, building that background, printing on paper that was never meant to go through a printer, and embedding it.

About the course

In Embracing Tissue Paper, I’m sharing my complete approach to printing photographs on tissue paper and embedding images into layers of hot beeswax — including how I tile multiple prints together to work large. It’s my signature process, and it’s what I’m known for.

This is in-depth access to my working methods. The course is modular, so you can move through it at your own pace, in whatever order makes the most sense for your own work. Everything is downloadable, so once it’s yours, it’s yours for good.

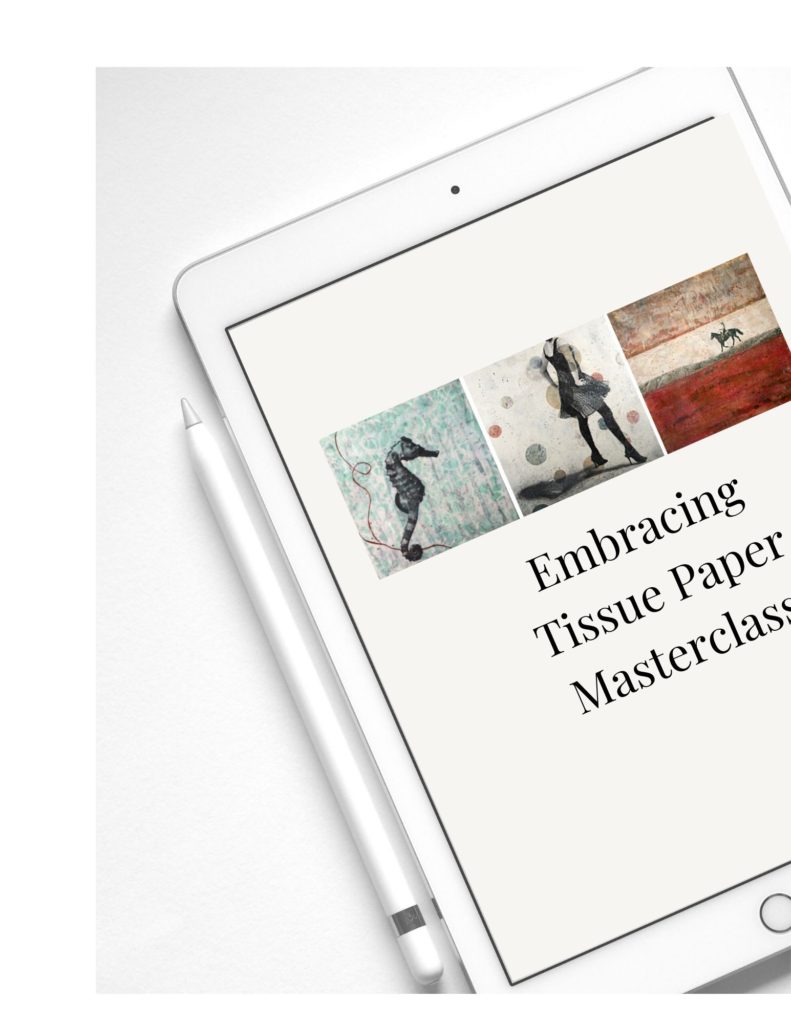
Tablet and stylus displaying the “Embracing Tissue Paper Masterclass” by Clare O’Neill, featuring sample mixed-media photo encaustic artwork on the screen.

Included in the course:

• 6 modules, plus a welcome video
• Transcripts for all seven
• Practice images
• A full resource guide
• Immediate access
• Downloadable for lifetime access
• Includes In My Studio ($67 value) at no extra cost
• Private FB group to ask questions and get feedback

• Course price $197 (USD)

(Basic encaustic experience required, no photography background required.)

You’ll come away from this course able to:

— Choose images that actually let your background show through
— Select the right paper, and know what “acid-free” and “buffered” really mean
— Build a background with real depth and luminosity
— Print on tissue paper without wasting sheets or fighting your printer
— Embed tissue so it disappears into the piece, not sits on top of it
— Tile multiple prints together to work at any size

One technique. All the way through.

The Six Modules

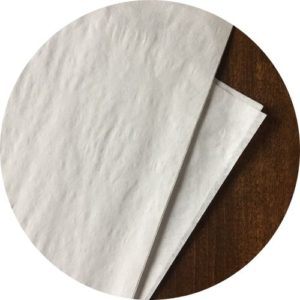
Sheets of buffered archival tissue paper laying on a table.

What you need to know about paper selection

The paper matters more than you’d think.

Not all tissue paper behaves the same way once it meets wax. You’ll learn what to look for — thinness, whether it has a shiny side that will repel wax, what “acid-free” and “buffered” actually mean and when they matter — and where to source archival paper once you’re making work you intend to sell.

Get the paper right, and everything else in this process has something real to work with.

Building Your Background

This is where the piece starts talking back to you.

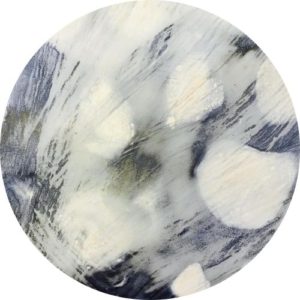
You’ll build a surface for your image before you ever touch the photograph itself — solid wax color, handmade or decorative papers, your own texture photographs, even thread or stencils. Some backgrounds I make with a specific image already in mind. Others I build with no plan at all, just to see what happens.

Your tissue print is going to be nearly transparent. What you build here is what the viewer is actually going to see.

Photo Encaustic Creating Backgrounds
Photo Encaustic Choosing Photographs

Selecting and Preparing your images

This is the module most people get wrong going in.

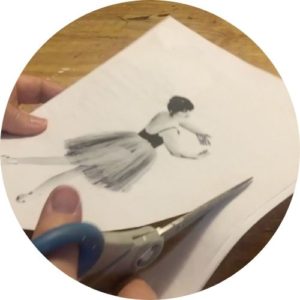
Not every photograph works with tissue paper. You need negative space the background can show through, and you need to understand that any color left in that space — even a pale blue-grey you’d swear was white — won’t disappear the way you expect. You’ll see real examples of images that don’t work, and learn how to isolate a subject so it does.

Choose the right image, and the wax already knows what to do with it.

Best practices for printing on tissue paper

Yes, it has to go through a printer. Here’s how that actually works.

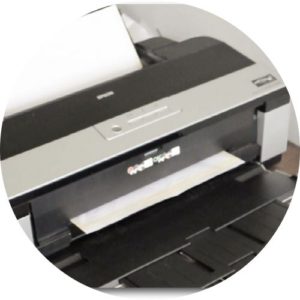
Tissue paper is too thin to feed through most printers on its own, so it gets taped to a carrier sheet — an ordinary piece of paper that does the work of pulling it through, then gets thrown away. You’ll learn how to tape it correctly, which settings to adjust for your printer, and what to do about drag marks or bleeding before they happen.

It’s printer-dependent, so some trial and error is part of it. But it’s a repeatable process, not a gamble.

Epson photo printer printing piece of taped tissue paper to a carrier sheet for photo encaustic process.
Photo Encaustic Embedding Tissue Paper

Tips and tricks for embedding tissue paper

This is where the paper disappears completely.

You’ll learn how to fuse the wax above and below the tissue so it’s fully encased, not just resting on the surface — how to work out air bubbles, and how to soften or hide the edges so the print reads as part of the piece rather than something laid on top of it.

The wrinkles and small imperfections aren’t mistakes to smooth away. They’re part of what makes the piece feel handmade.

Tiling Your images for working large

This is what makes working large possible without a large-format printer.

You’ll learn how to divide a single photograph into sections, print each one, and piece them back together on the panel — lining up the seams, and choosing where a small gap will read better than an overlap.

Working larger changes how you use your whole body, not just your hands. Tissue paper is what makes it possible to get there.

Photo Encaustic Tiling Multiple Tissue Paper Prints

About Clare O'Neill

I’m a photographer and artist, and tissue paper is the process I keep coming back to — it’s how I make nearly all of my own paintings, and the technique people ask me about most.

My work is large, so a single photograph gets printed on tissue paper in multiple pieces, then embedded one at a time into layers of hot beeswax I’ve built up with bold brush strokes and drips. That’s most days in my studio.

I’ve been teaching photo encaustic for more than a decade, online and in person. I think of it like learning to drive a manual transmission — the clutch, the shifting, all of it takes some getting used to. But once it’s second nature, that’s when the open road gets exciting. I’d rather you get there than just memorize the steps.

I personally answer every question in the alumni group, and if a piece isn’t going the way you hoped, I’d rather you keep working through it than have me hand you the fix. That’s usually where the best work comes from.

I’m based in Minnesota and travel to Ireland every year, where I’ve been going long enough to know which pubs have the best light in the afternoon and which roads are worth pulling over on.

I could never figure out why the images I loved most weren’t working. Clare didn’t just tell me they wouldn’t work, she explained why. Once I understood how tissue paper works and why the background needs to show through, choosing images suddenly became so much easier. I’ve been working on tree images from our cabin and just got my first piece accepted to a show.
— Beth Search

Is this for you?

This is for you if you already have the fundamentals of encaustic down, and you’re drawn to the specific look of tissue paper — the way an image seems to glow from within rather than sit on top of a surface. Maybe you’ve done photo transfers before and want to take it further. Maybe you’ve seen this look somewhere and simply want it. You don’t need to be a photographer. You do need to already be comfortable working with wax.

This probably isn’t the right course if you’re new to encaustic altogether. Start with the fundamentals first — The Artistic Image is where I’d point you. It covers the basics this course assumes you already have, and tissue paper will still be waiting for you when you’re ready for it.

The Artistic Image →

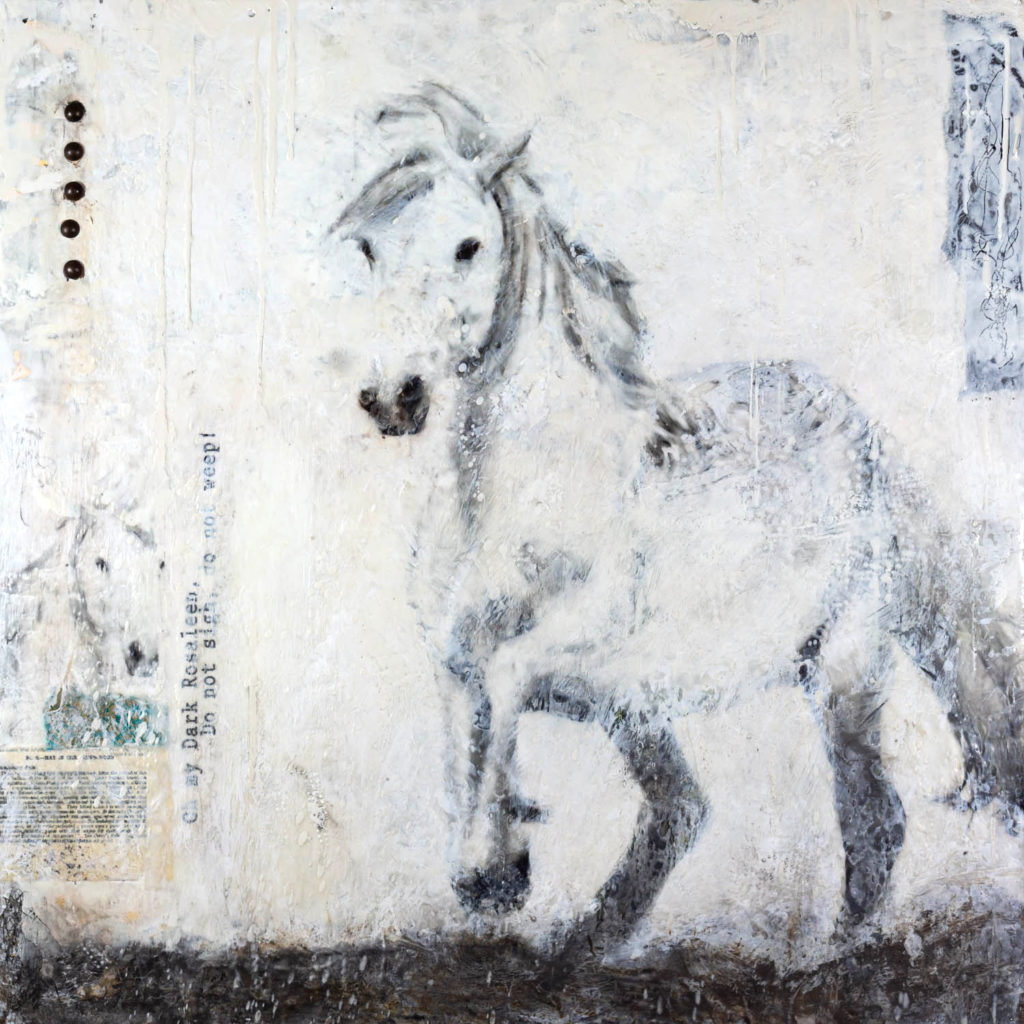
White horse rendered in an abstract encaustic painting, with layered wax textures, soft gray tones, and subtle mixed-media markings conveying movement and spirit.
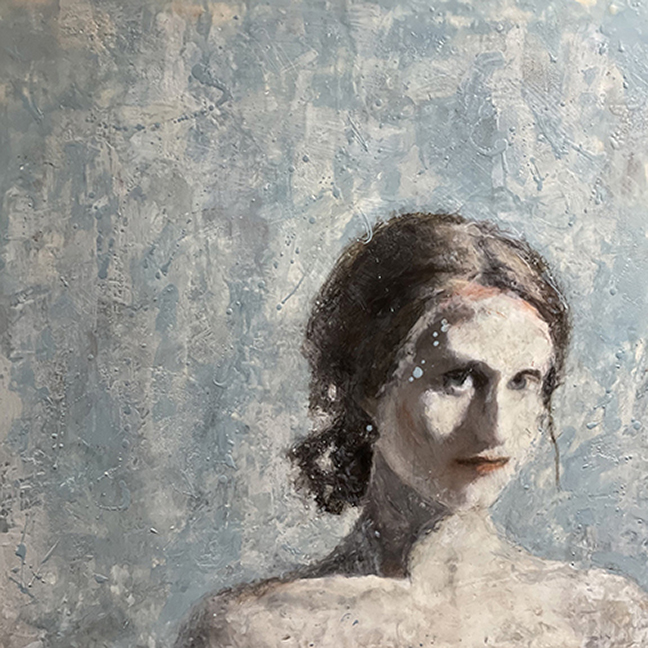
Painterly encaustic portrait of a woman with dark hair against a soft blue-gray textured background, featuring layered beeswax, subtle facial details, and a contemplative, timeless mood.
$197

All six modules, plus a welcome video, with transcripts for all seven. You’ll also get practice images, a full resource guide, and ongoing access to my private Facebook group. Download everything and keep it.

As a bonus, this course includes In My Studio at no extra cost — a $67 value on its own. It’s my complete start-to-finish video of building an actual 30×30 tissue paper piece: choosing the image, tiling, printing, embedding, all of it. Everything this course teaches, you’ll also get to watch happen on a real piece, start to finish.

Questions

Who is this course for?
For anyone who already knows their way around wax and is drawn to the specific look of tissue paper — the translucency, the way light moves through it rather than sitting on top. Some of you are already doing photo transfers and want to go further. Some of you have seen the look somewhere and simply want it. You don’t need to be a photographer. You do need to already be working in encaustic.

I’ve taken The Artistic Image. Is this course different, or does it cover the same ground?
Different, and it goes further. The Artistic Image is the introductory course — it covers the fundamentals of encaustic and three ways to bring a photograph into wax: mounting, embedding, and transferring. This course takes one of those three, tissue paper embedding, and stays with it completely — paper selection, backgrounds, printing, embedding, tiling for large work. If you’ve taken The Artistic Image and tissue paper was the part that stuck with you, this is where you go deep on it.

How much encaustic experience do I need?
A basic understanding of encaustic — the fundamentals, fusing, working with wax. This isn’t a beginner encaustic course. It’s a focused, start-to-finish look at one process: tissue paper.

I’m self-taught, not formally trained. Can I still take this course?
Yes. Self-taught or formally trained, what matters is that you already have the fundamentals down. This course doesn’t teach those — it teaches tissue paper, start to finish.

Will I be able to ask questions?
Yes. You’ll have access to my private Facebook group, where you can ask questions during the course and beyond. Whether enrollment is open or closed, you can always reach out for clarification.

What supplies will I need?
This is a mixed media course, so a range of supplies is used. Once you register, you’ll get a full downloadable materials list. If you already work in encaustic, you likely have most of what you need already — tissue paper is the main new material, and I include supplier recommendations.

When does the course start?
It’s self-paced. Everything is available the moment you register, so you can move through it at whatever pace fits your life.

Are the lessons live? Do I need to be available at certain times?
No. Every lesson is pre-recorded. There’s nothing to log into at a set time.

How long will I have access to the course?
Once you download the materials to your computer, they’re yours for good. You’re also welcome to join my private Facebook group for ongoing feedback and connection.

Will I need high-speed internet?
Yes — a stable connection makes streaming and downloading the videos much easier.

How are payments handled?
Payments go through PayPal, either with a PayPal account or a credit card.

What can I expect once I register?
A welcome email with immediate access to the classroom — your workspace setup, safety information, materials list, and an invitation to the private Facebook group. One thing worth knowing: classroom login is available during the enrollment window, so make sure to download everything you want to keep.

When will the course be offered again?
Twice a year.

Still wondering if this course is right for you?
Feel free to email me at info@photoencaustic.com with any questions. I’m always happy to help you decide.