9 Elements for Strong Photo Encaustic Images.
Every image—whether a photograph, a painting, or a photo encaustic piece—carries certain artistic elements. They won’t always all be present, and they don’t need to be. These aren’t rigid rules. Sometimes an image is powerful precisely because it breaks convention and gives the viewer something unexpected. But understanding these elements helps you make more intentional creative choices.
Impact is the feeling a viewer experiences the moment they first see your image. Strong impact often comes from emotion—something created through contrast, color, subject choice, or the way you handle the medium.
Creativity shows up in how you use your materials to express ideas. Original, imaginative choices help your work stand apart and reveal your unique artistic voice.
Center of Interest is the area where the viewer’s attention naturally lands. Sometimes there’s a primary focal point, sometimes secondary points, and sometimes the entire scene acts as the center of interest. Whatever you choose, it should feel intentional.
Subject Matter should support the story you want to tell. A compelling viewpoint, an unexpected angle, or a subject rich with emotion can create a stronger connection with your viewer.
Composition ties all visual elements together. Strong composition guides the viewer’s eye and keeps them engaged. A few helpful considerations include placing subjects along the rule of thirds, avoiding a centered horizon line in landscapes, paying attention to where the brightest or most contrasting area is, keeping eyes sharp when photographing people or animals, avoiding cutting limbs at joints, and allowing movement to flow into the frame rather than out of it. Often, simply changing your physical position—moving left or right, up or down—can completely transform an image.
Style develops from the artistic choices you make again and again. Patterns, color palettes, lighting, textures, shapes, depth, negative space, and even the mood of your work all contribute to a recognizable visual voice.
Breathing Room and Balance help your image feel intentional and harmonious. Sometimes balance is symmetrical and calm; other times it’s deliberately unbalanced to create tension. Giving your elements space to “talk” to one another strengthens the overall composition.
Simplicity is almost always your friend. Removing anything unnecessary—through cropping, zooming, changing your position, or using selective focus—helps your subject shine.
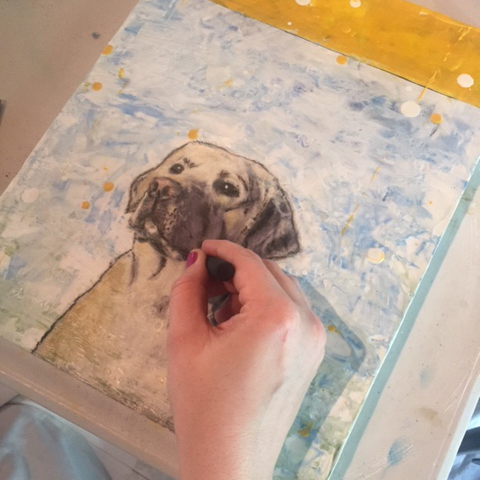
Technique reflects the way you bring a piece to life. For photo encaustic art, this includes how you print your image, mount it, apply wax, fuse layers, add pigments, and build texture. Technical excellence is less about perfection and more about mastering your tools so they support your creative vision.
If you want to go deeper into the process of creating strong photo encaustic artwork, I walk you step-by-step through my blueprint inside my online course. You can explore it here: The Artistic Image: Encaustic Photography e-Course.
I’m curious to know, what insights are you taking away from this. Tell me, what are your favorite elements you use when creating photo encaustic images?
Be well….be creative,
Clare
Learn how photographs, wax, and intuition come together.
View my photo encaustic classes, courses, and workshops.
Hello Clare,
I am looking so forward to your on-line class in July! One question is about supplys. I read somewhere that students have the option to order basic supplies from you – is this true? I am anxious to get the proper supplies ahead of time. I am thinking about what substrate to use and am considering board like painters might use, and even with sides resembling a stretcher frame. I intend to collage some thin fabric or paper and some sewing supplies for my sewing machine series.
Nice Elements, all stuff I taught to my photo students at a community college. It is hard for me personally to stay simple. I love complexity but always look for a focal point.
Looking forward Clare! ~E.K. Waller
Looking forward to working with you as well E.K.
Check out the supply list at the bottom of the welcome page in the classroom. You can download it and find the info on purchasing a starter kit. Thanks for reading the blog.