This is one of my favorite things.
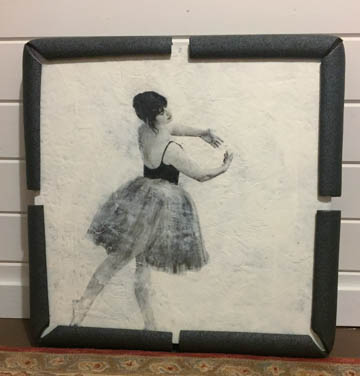
Protecting the edges of encaustic artwork can feel nearly impossible—especially if you’ve ever damaged a piece during storage, transport, or shipping. The edges are the most vulnerable part of any encaustic work, and even small bumps can cause chipping or dents.
One of the best studio hacks I’ve ever discovered is surprisingly simple and incredibly effective:
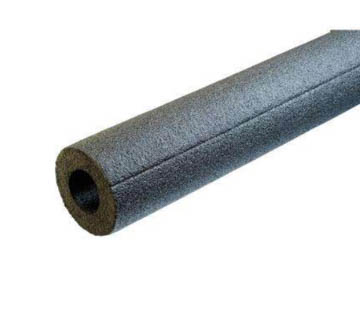
Foam pipe insulation.
Yes—ordinary pipe insulation (the kind you find at any hardware store) is the perfect protective barrier for encaustic art. It cushions the edges, prevents impact damage, and helps your cradled panels stay pristine whether you’re storing artwork in your studio or preparing it for shipping.
Choosing the Right Pipe Insulation
My cradled boards are 2 inches deep, so I buy 1-inch pipe insulation. That measurement refers to the size of the pipe it’s meant to wrap around—not the outer thickness. The insulation itself is about 2 inches wide, which fits perfectly over my 2-inch panels.
If your cradled panels are shallower (¾” or ½”), choose the corresponding insulation size.
How to Cut Pipe Insulation for Encaustic Artwork
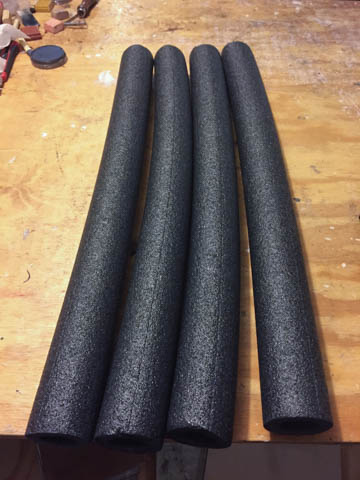
Pipe insulation usually comes in 6-foot lengths. Here’s how I prepare it:
-
Cut each piece one inch shorter than the edge of your artwork.
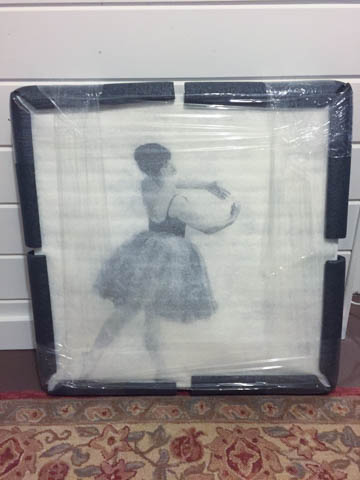
For a 24″ × 24″ panel, I cut four pieces at about 23 inches. -
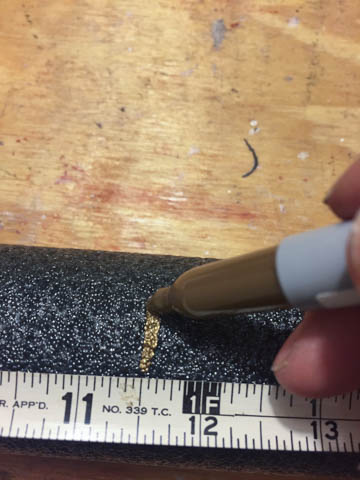
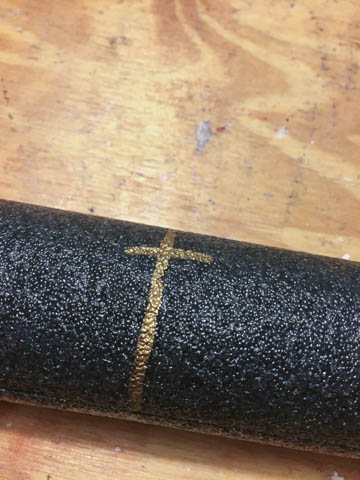
Find the center point of each piece and mark it.
Example: On a 23-inch piece, I mark at 11.5 inches. -
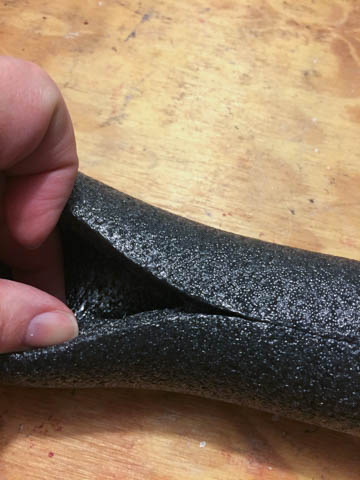
Open the insulation.
It’s pre-slit, but not cut all the way through. -
Cut about ¾ of the way through the foam.
I mark where I want my scissors to stop. -
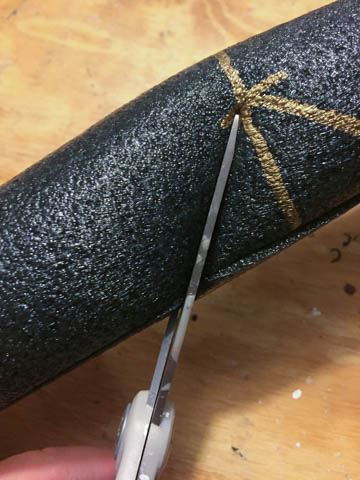
Trim the foam at 45-degree angles on each side.
Regular scissors work perfectly.

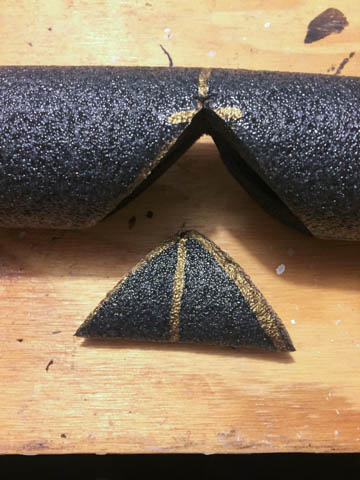
Once cut, you’ll have a flexible protective angle that slides over each corner of your art panel.

Securing the Insulation
Pipe insulation naturally relaxes and conforms to the shape of your board, but it can also slip off during transport. To secure it:
-
Add a layer of protective foam over the top of your piece.
-
Use stretch wrap to hold everything firmly in place.
And that’s it—your encaustic artwork is now fully protected and ready for safe storage, transport, or shipping.
This simple method has saved countless pieces of mine over the years. Give it a try—it’s a small studio upgrade that makes a huge difference.
Tell me, what are the other tips and tricks you have to protect your work. I’d love to hear what you do.
Be well….be creative,
Clare
Learn how photographs, wax, and intuition come together.
View my photo encaustic classes, courses, and workshops.
Clare, this tip is GOLD and you are golden! Thanks for sharing your expertise with all of us so generously.
Thank you Emily. It’s probably hands-down the best tip I can share about finishing a piece…..I just forget about it because it’s such a part of my process I never think about it.
Thank you so much, Clare. Such a clever way to protect them!
You are welcome Vicki:)
Clare,
This is a GREAT tip!! Storage is now solved, for making larger pieces. I have been contemplating how to do this. My bakers rack is great for 12″ x 12″, but larger than that just wasn’t sure how I was going to work on a few pieces at a time and protect them. Do you think putting twine around the pipe insulation would work best to hold it on while moving it on and off while the art piece is in process? thank you for this excellent solution!
Twine will work…..they don’t stretch out immediately….so you can use them without twine for a bit. But long term, they will stretch and fall off easily.
Wonderful I have been doing that for a long time at that time I use them for my frames gallery don’t take care of our frames.glad you put it out there keep up your ideas ,if I come up with any thing I will put it out there .i have worked in cold wax for 38 years.i love what eeveryone is doing .
Thanks for your comment Vera. I so love what everyone is doing as well….the creativity is boundless.
thanks very helpful to know about this when I get to storing my art!
Susan, it’s a great trick…..you’ll love it. Someone commented on another site that they use dollar store pool noodles as well.
Great tip. Thanks for sharing.
Thanks Carolyn:)
Beautiful Clare – thanks for sharing!
Hope it helps protect your beautiful work.