It’s Done! Now How Do I Photograph It?
If you’ve ever tried to photograph your finished encaustic artwork, you know how tricky it can be. The surface, the shine, the texture—getting it all right in a photo feels like chasing light itself.
Let me walk you through my process.
When I finish a piece, I want a photograph that truly captures it—every brush of texture, every subtle tone. I need the image to hold up even if it’s printed large—think Six feet by six feet large.
Now, I’ll be the first to admit: I’m not a techy. So when it’s time to capture my work professionally, I turn to my friend and photographer, Brady Willette. (Do yourself a favor and check out his incredible War Pony Project.)
Why I Don’t Scan
You might wonder why I don’t just scan my pieces. Here’s the thing: scanners flatten everything. And in encaustic work, texture is everything. I actually want a hint of shadow bouncing off those waxy ridges—it gives the print a sense of depth and life.
Don’t worry—I’ll share some simpler alternatives further down.
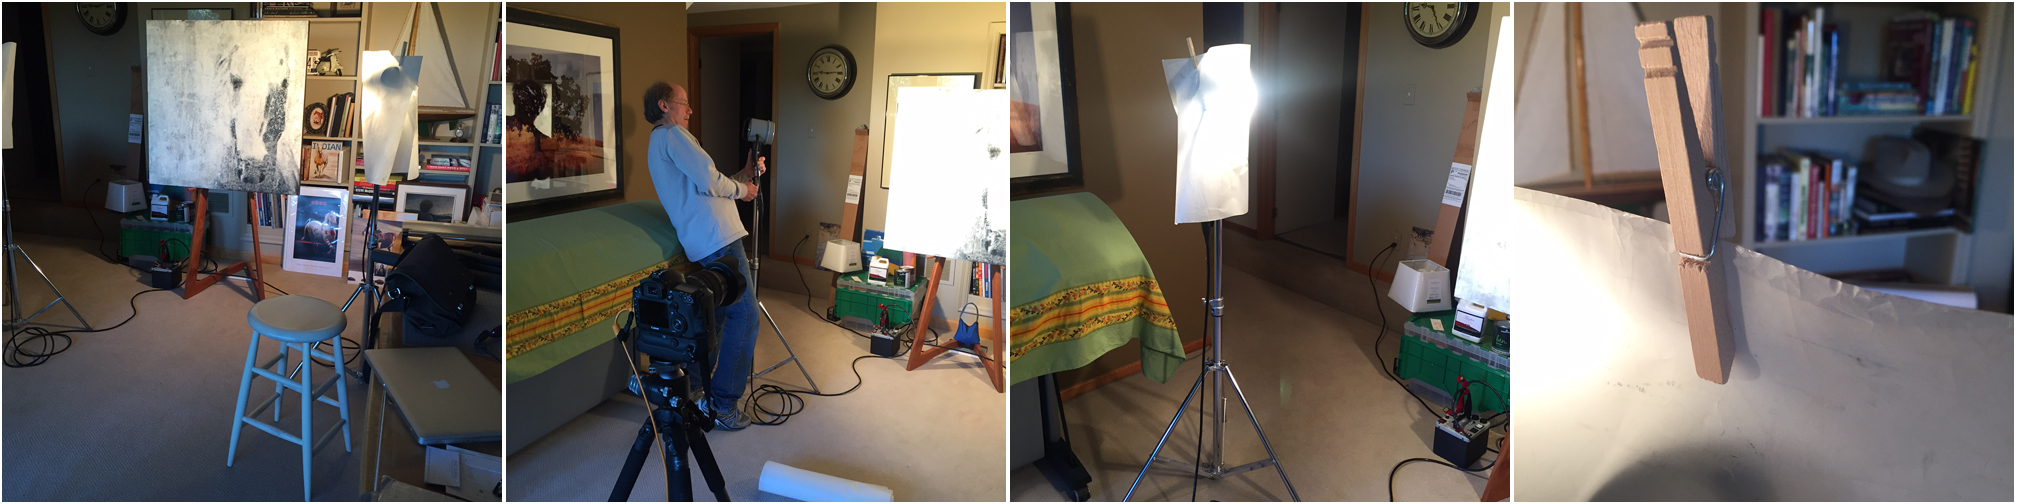
The Studio Set up
The professional setup is fairly straightforward—at least for someone like Brady.
We use:
-
An easel
-
Two lights with diffusion sheets
-
A flash sync and light meter
-
A camera (in this case, Brady’s Canon 5D Mark III)
-
A laptop for tethering
Backdrop? Not important.
The lights are placed at roughly 45-degree angles, softened with Rosco Diffusion Sheets to keep the light color neutral. Brady shoots with his Canon 24–105mm lens at ISO 100, f/8.5, 1/200 sec.
He also takes a reference shot with an 18% neutral gray card to ensure the colors match the artwork exactly. Once everything is leveled—the camera and the piece perfectly aligned—he takes one shot. Done.
That’s the magic of precision.
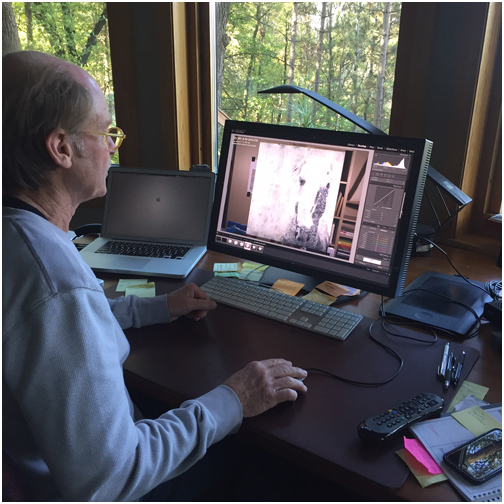
Leveling, Color, and the “Techy” Stuff
This part is where I’m glad Brady’s behind the camera. Getting everything perfectly level is critical—you don’t want distortion or a slight tilt to warp the image. His color correction and attention to detail mean the final file is a flawless match to the original piece. When we cropped the final image, it was a perfect square.
Now, I know most of you aren’t sending your work off for large-scale reproduction. You might just need good, clean images for your website, social media, or show submissions.
You can absolutely do this yourself.
Try a similar light setup using simple materials:
-
Use tissue paper or a white fabric as a diffuser.
-
You don’t need fancy flash equipment or tethering software.
-
Work in a darkened room with constant light—tungsten or LED is fine.
-
Set your camera to match the lighting and shoot.
If color accuracy isn’t critical, you can skip the gray card altogether.
Quick and Easy iPhone Trick
Let’s be honest—sometimes you just need a fast photo.
When that happens, I take my piece outside into the shade and lay it flat on the ground. Then I straddle it (yes, really), hover directly above, and snap the image with my iPhone. Natural shaded light is beautiful and forgiving.
The only risk? A slightly tilted shot. I sometimes lose a corner when cropping out the sidewalk—but for social media, it’s perfect.
I recently added a small tripod for my phone, and it’s been a game-changer.
Photographing encaustic work doesn’t have to be intimidating. If you want a deeper dive into the technical aspects of photographing your originals with accuracy and detail, editing and preparing files so they look their best, and printing fine art reproductions with confidence, then check out From Wax to Wow and start creating fine art prints that truly reflect your originals.
I would love to know in the comments below what are some of the other ways you’ve found to photograph your finished pieces.
Be well….be creative,
Clare
Learn how photographs, wax, and intuition come together.
View my photo encaustic classes, courses, and workshops.
Thanks Clare, really helpful advice. My main problem is showing the true colour and hues of my turquoises and blues. Simply can’t produce the same vibrancy but I’ll keep fiddling with the meters and lighting. Maybe I need to diffuse the light much more so I’ll also give that a go. Thanks!
Hi Cinny, it’s no doubt hard. Yes, keep fiddling. Wish there was a magic formula.
I find that once I get the lighting right with my phone I can actually make the colors true to the piece through editing. The outdoor lighting is the best, although in a Minnesota winter it can be a challenge!
It’s tricky to get the lighting right, but yes, the iphone is amazing these days. I hardly ever bring out the big camera…..unless I want more pixels to reproduce the work!
Cinnamon, if you are using really vibrant colors on your artwork, they may be out of gamut for sRGB or AdobeRGB to capture. Nothing really you can do about that but get as close as you can.
Thanks for your input Al.
Photographing encaustic work has got to be the most challenging photo project ever. You always seem to have to compromise something. Thanks for the tips. I have have found that for social media shots that the phone pictures work and I can usually find a filter to return the correct colours to photo before publishing. I like the laying down of work idea. I’ve used the lawn chairs but always loose edges as you said. Frustrating.
Couldn’t agree more Mary, it’s indeed tough…..especially since the originals are oh so beautiful.
Good info. I photograph a lot of art including my own encaustic works. It is quite challenging to capture the luminous look and feel of encaustics. I sometimes use a polarizing filter on my lens to reduce unwanted reflections. For more reflection control, you can also place a polarizing screen on front of the lights.
I was inspired recently to use one bare lamp above my piece to duplicate the gallery lighting I saw recently on one of my pieces. It as stunning. Give that a try also.
Thanks for the comments Larry and posting your tip about using the polarizer. Yes, a polarizing filter would certainly help if you are getting glare.
Hello. I am seeing this article in 2021.
Is there a camera you recommend to photograph encaustic paintings.
Thank you
Hi Maria, I’ve actually been using my iPhone 12 recently and it is marvelous for photographing…..especially for social media. If you are photographing for reproduction you’ll want any DLSR camera that with decent pixels. There isn’t one I would recommend over the other. It’s a personal preference to what you need and your budget.
I have found taking photos prior to buffing the piece can help. Unless of course, you want to demonstrate that lustre.
But the straddling the piece on the floor of my studio, in the darker shadow of my work bench is my go-to location.